.png)
Practice Vaults
Overview
Practice Vaults are a special kind of Guardblock vault that allows you to test out the Recovery process before committing to the proper long term storage vaults available, such as a Shield Vault.
Ultimately, a Practice Vault is identical in function to a regular vault, the only difference being that it has a shortened period for its timelocks, allowing you to test the Recovery feature in a matter of hours instead of the 13-15 month timelocks found in other vaults.
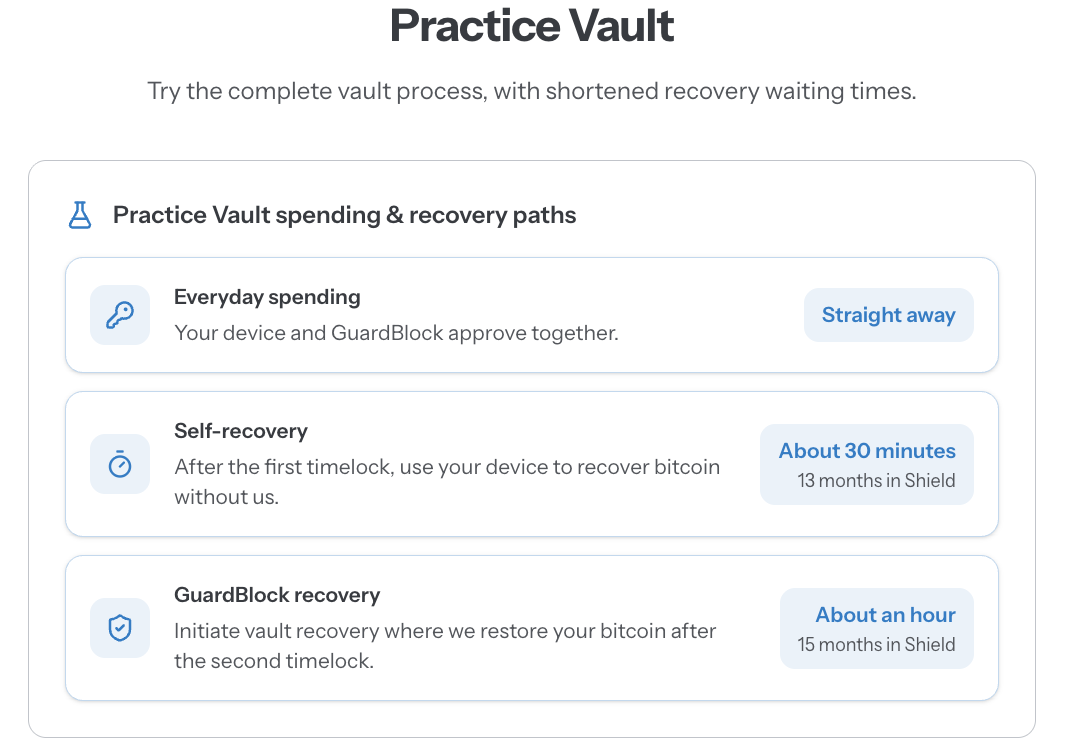
Practice Vaults still use real bitcoin, and are not intended to store more than a fractional amount in order for you to test out Guardblock.
You can test the Self-Recovery pathway (also known as Unilateral Exit) and move funds off of Guardblock without logging in - simulating what you would do if we disappared.
You can also test the Guardblock Vault Recovery safety net - ie the method where we can move funds based on your instructions once the 2nd timelock expires.
Usage
If you want to test out Guardblock and experience the recovery pathways with a shortened time period, follow these steps:
- Obtain a suitable hardware signing device that is compatible with Guardblock. Check this article to see which devices are currently supported.
- Initialise the device and generate a private key for usage with Guardblock. You can use an existing key, and you can use the same key that you use for a Practice Vault for a subsequent long-term storage vault, such as a Shield Vault. You can also use a key that is already used to custody funds in a wallet unrelated to Guardblock. We do not see your key, but we do see your xpub - so extremely privacy concious users should take note.
-
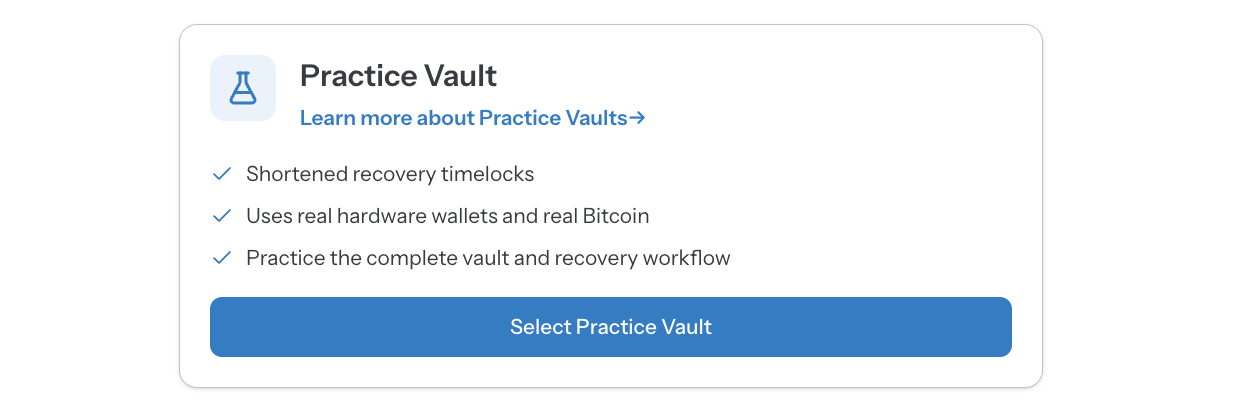
Create a Practice Vault by following the vault creation steps from your Guardblock account dashboard:
- Once created, fund the vault with a small amount of bitcoin for testing purposes. We recommend no more than $5-$30 worth of bitcoin. Note that small deposits of less than $5 are not recommended as they may be rendered unspendable due to network fees.
- Once funded, you can wait for 3 blocks to be added to the Bitcoin network (approximately 30 minutes) and then test out the unilateral exit pathway using your hardware signing device and Vault Descriptor. You can view our guide on Self-Recovery here: https://support.guardblock.com/article/126-self-recovery-guide
- Alternatively, you can wait for 6 blocks (approximately an hour) and then test the Guardblock Recovery pathway by initiating vault recovery for your Practice Vault. Note that this requires our team's attention to progress through the steps, since it mimics the real Recovery process, so be aware that it is not an instant process. You can see the steps involved about Guardblock recovery here: https://support.guardblock.com/article/118-what-is-recovery
- Optionally, you can also test various Vault settings, such as spending controls or rollovers to refresh the timelocks.
Support
Need more help? Book in a call with us using the concierge links or send us an email via the Support page from the main menu when logged into the platform.