.png)
Self-Recovery Guide
Self-Recovery, also known as Unilateral Exit, lets you move your funds out of a Guardblock vault in the event of us disappearing due to compromise, hacking, Government seizure or key person loss.
If our site goes down or we get compromised to the point where we can no longer cosign your transactions, you can follow the below steps to move funds once the Self-Recovery timelock has expired for your Vault.
Remember, you can follow the below steps anytime, but you won't be able to actually sign transactions and move funds until the Self-Recovery timelock has been reached, which for most vaults is 13 months from the date of funding the vault with bitcoin, or from your last rollover transaction.
What You Need
- Your private key, ready in a suitable hardware device.
- This could be the same hardware device you used for your Guardblock Vault, but it could be a different device that has been restored with your private key backup, if you don't have access to your original device.
- Your Vault Descriptor .txt file.
- You would have been asked to save a copy of this during your Vault setup. It may be kept in your password manager, on a USB Stick/SD card, or you may have a printed copy.
- If our website is still operational, you can login and download a copy from your Vault settings page:

- Liana Wallet.
- This is an Open Source bitcoin wallet that is able to understand the Vault Descriptor and restore your Vault outside of Guardblock.
- The latest releases can be found at https://github.com/wizardsardine/liana/releases, and their website is https://lianawallet.com/
- Be sure to verify your download before installing and running the software. Your AI of choice can help you with verifying the software if you aren't sure how.
This guide was produced using Liana Wallet version v15.0 - Subsequent versions may differ slightly from the below.
Self-Recovery Steps
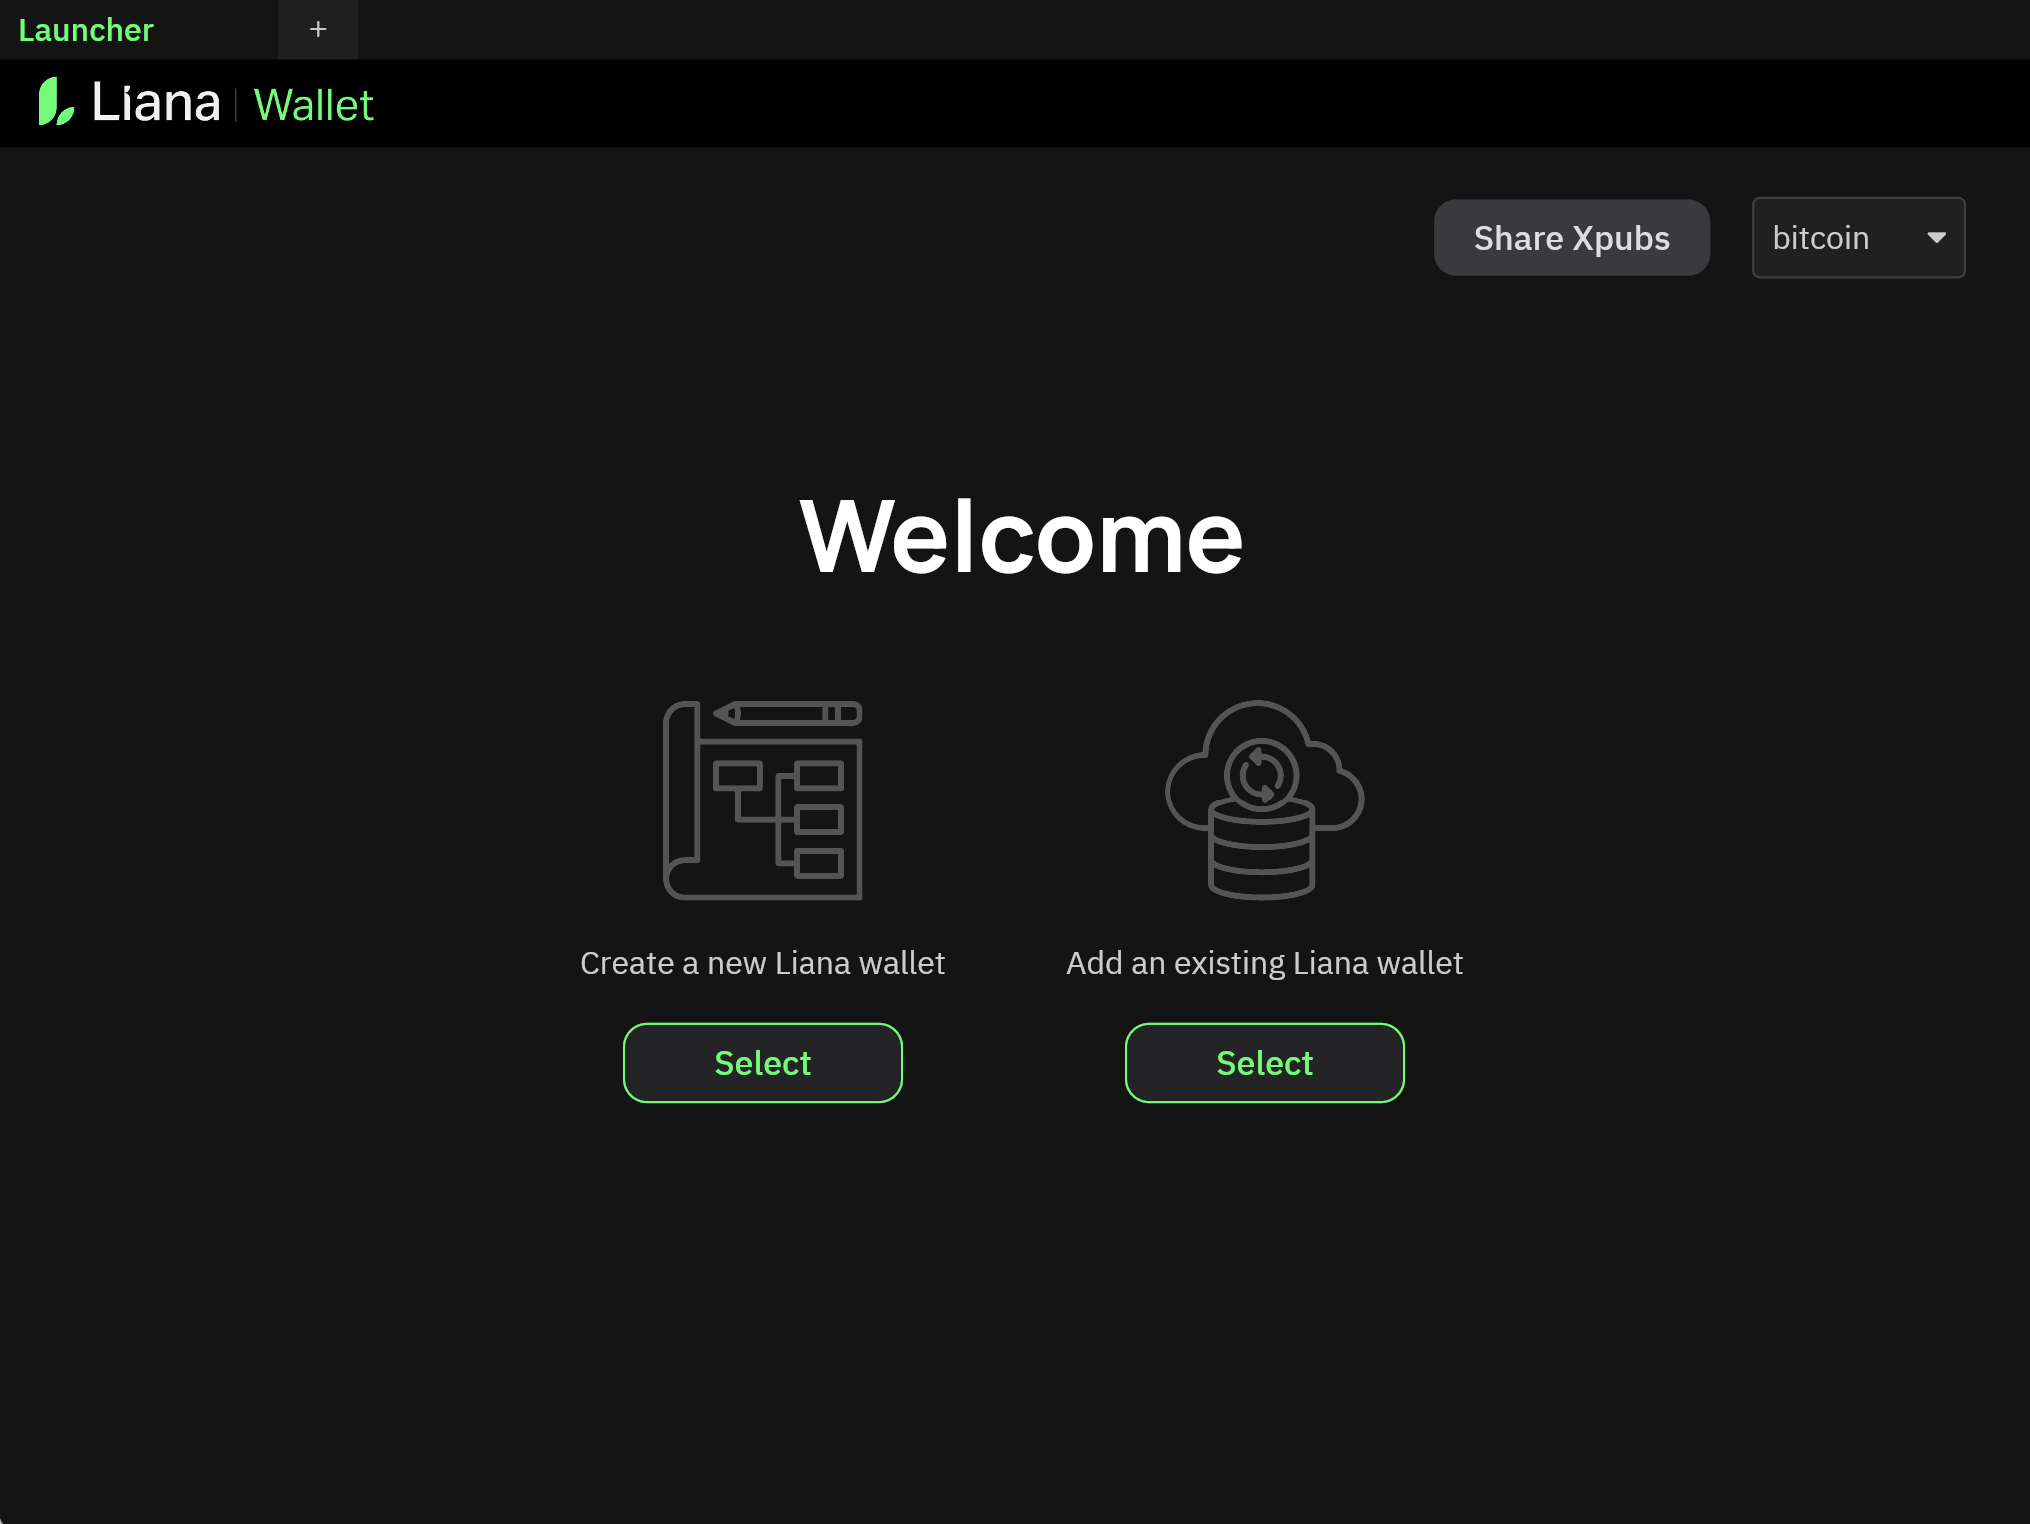
Step One: Once you have everything from the "What You Need" steps above, run Liana Wallet. This demo was done using the MacOS version, so your Liana Wallet might look different.
Select "Add an existing Liana wallet" to proceed.
Step Two: Choose whether you use your own node or Liana Connect for the backend - aka the bitcoin node infrastructure that the wallet uses to interact with the bitcoin network.
If you don't already run a local bitcoin node, the easiest option is to use Liana Connect. This is not recommended for privacy sensitive users, as Liana's node will be able to view some information about your transactions.
For this demo I am using Liana Connect. If you have your own node, feel free to use that option instead, and jump straight to Step Three.
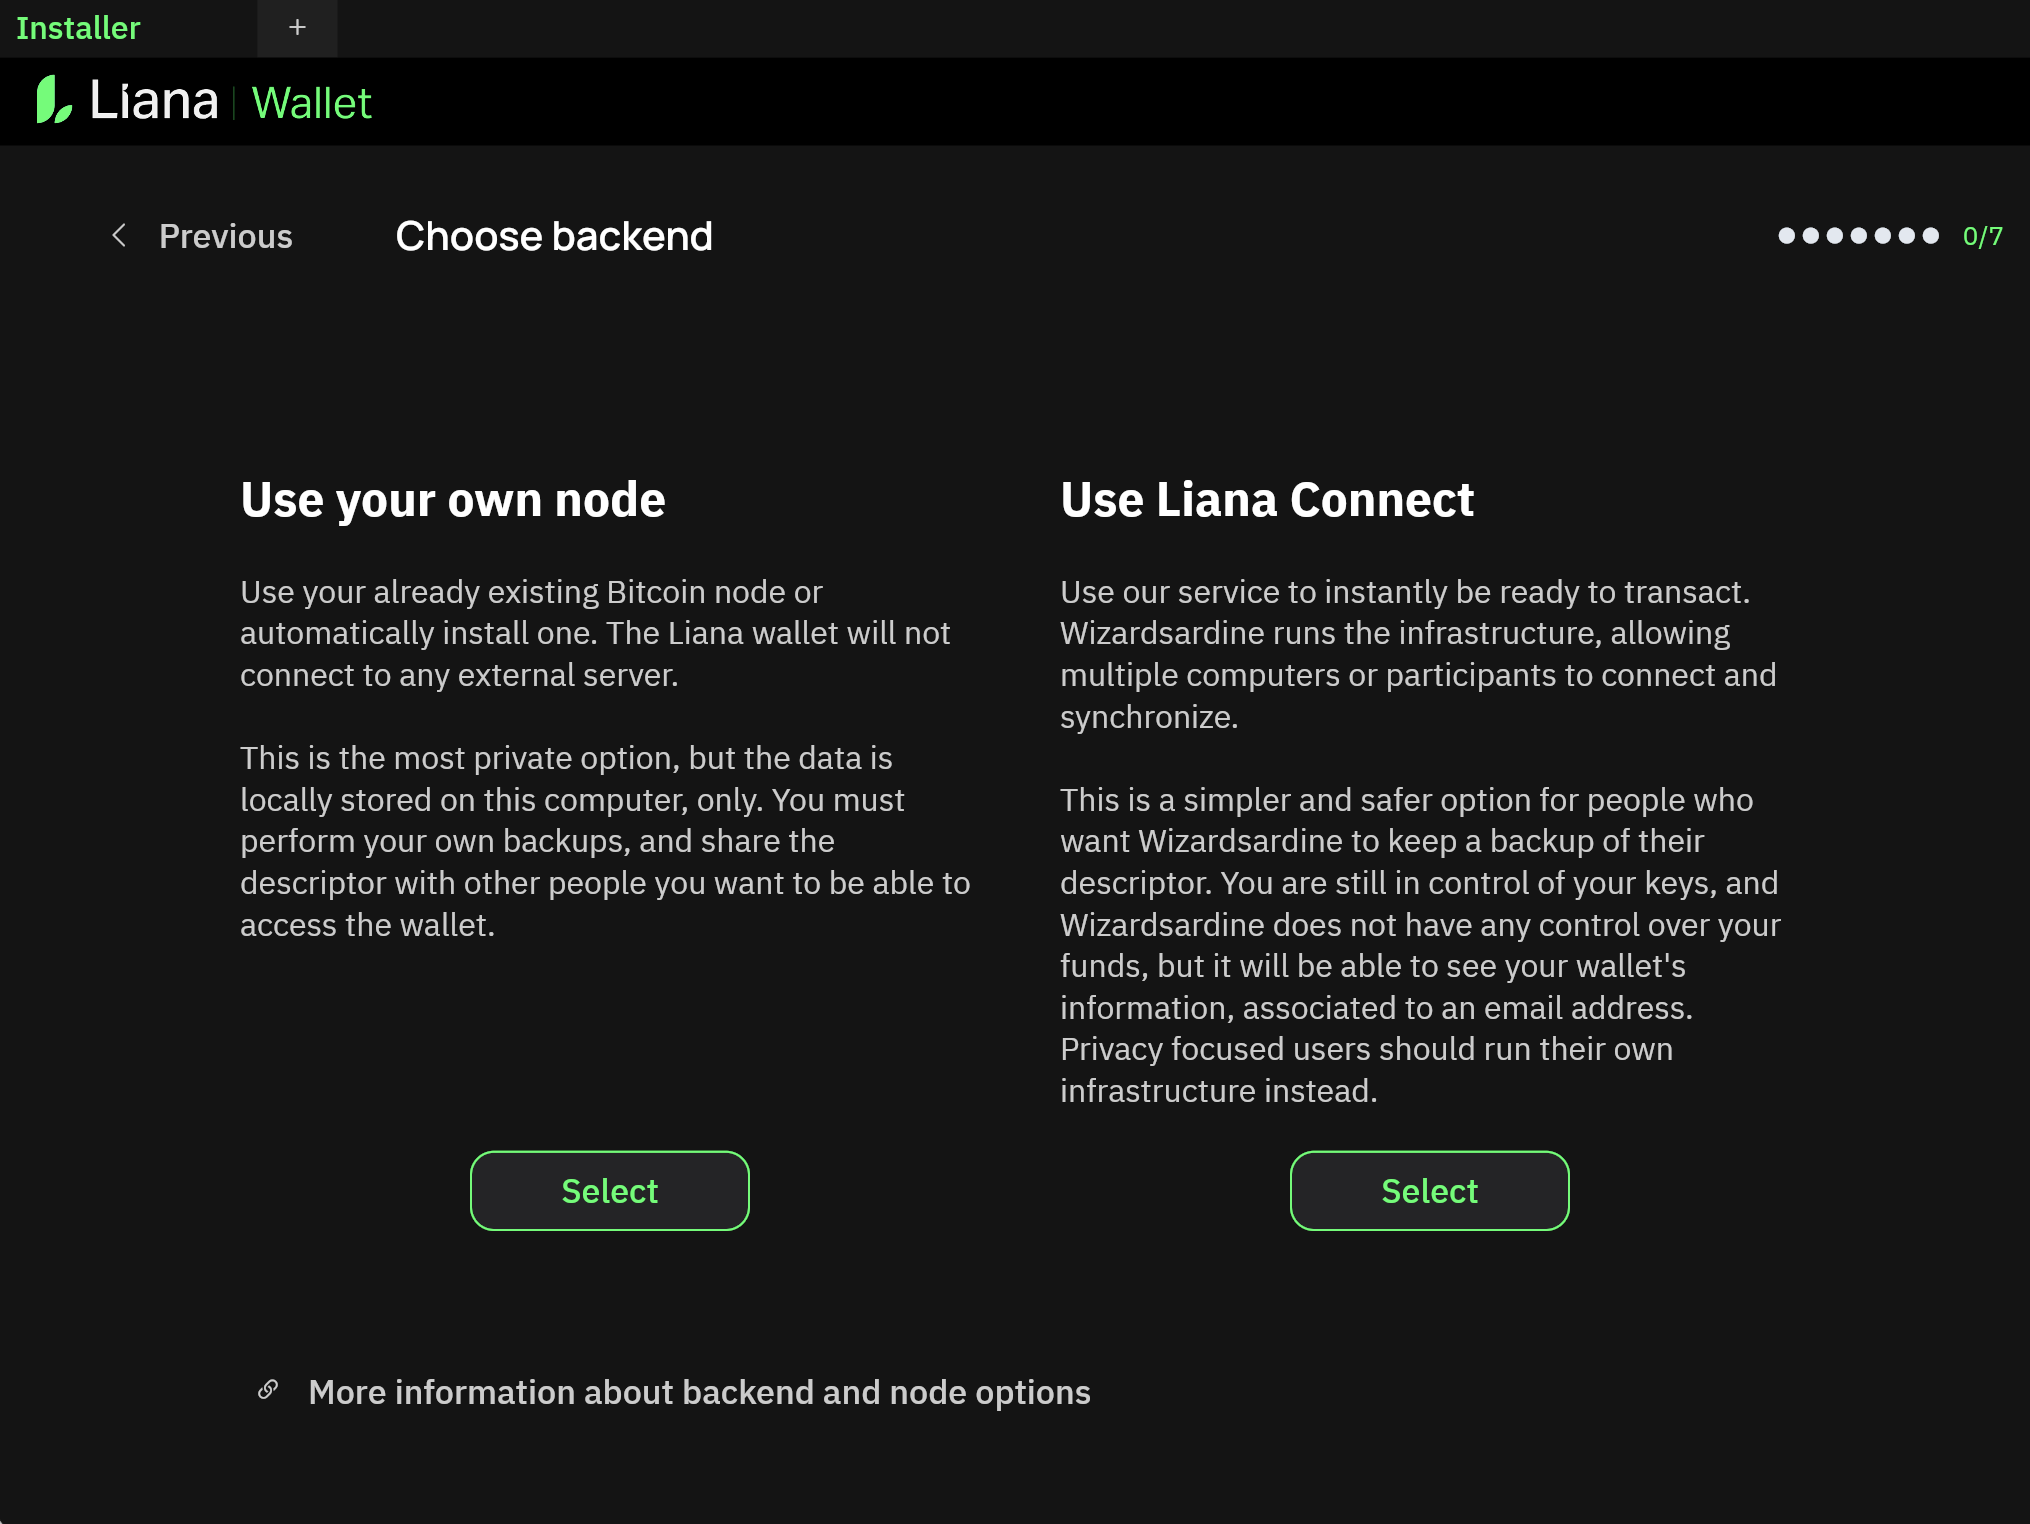
If you choose "Use your own node", later you get the choice of inputting your node connection details, or to get Liana Wallet to set up a pruned node for you on your machine. The latter is a good choice if you want to preserve your privacy but don't already have a node running, but it will usually take a few days depending on your machine.
Also note that at time of writing, Liana Wallet only supports remote node connections via Electrum, otherwise if running standalone Core it needs to be on the same machine.
Enter an email address where you will receive a token to use to access Liana Wallet's node.
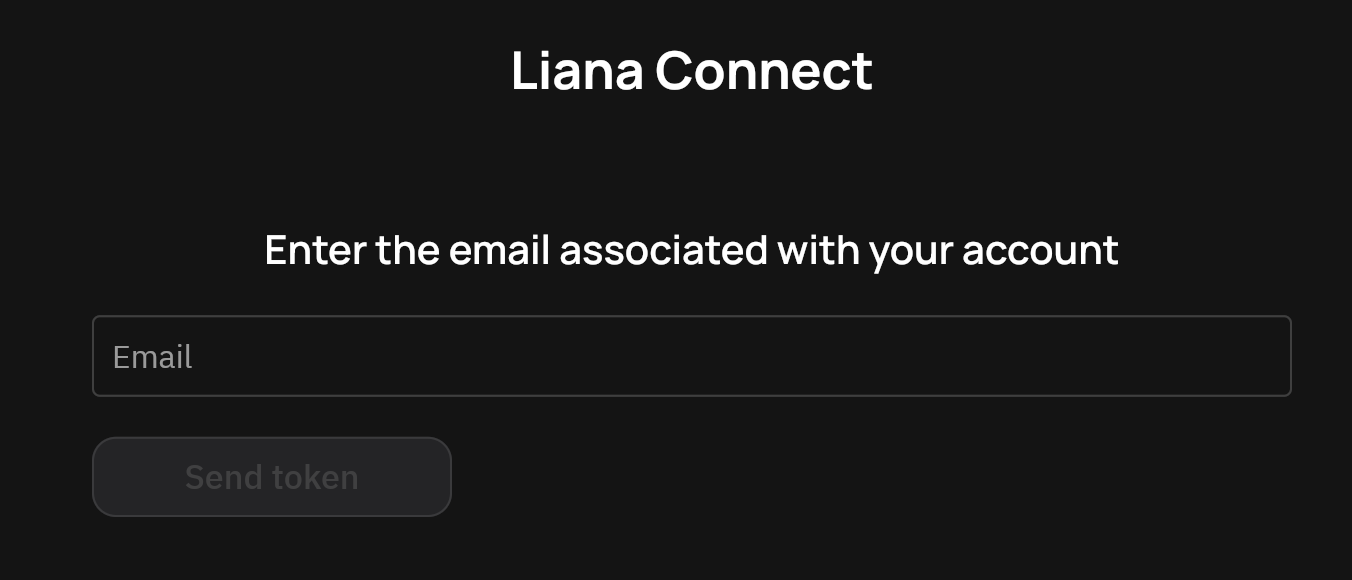
When you hit "Send token", you'll receive an email from Wizardsardine Robot (the developers of Liana Wallet). Inside that email is a token, copy and paste it into Liana Wallet to continue.
Step Three:
Expand the menu, then import your Vault Descriptor into Liana Wallet by clicking on 'Import a descriptor' and navigating to the .txt file for the Vault you are recovering. Alternatively, or if the wallet doesn't proceed automatically, you can paste the entire text string of the descriptor into the 'Paste a descriptor' option.
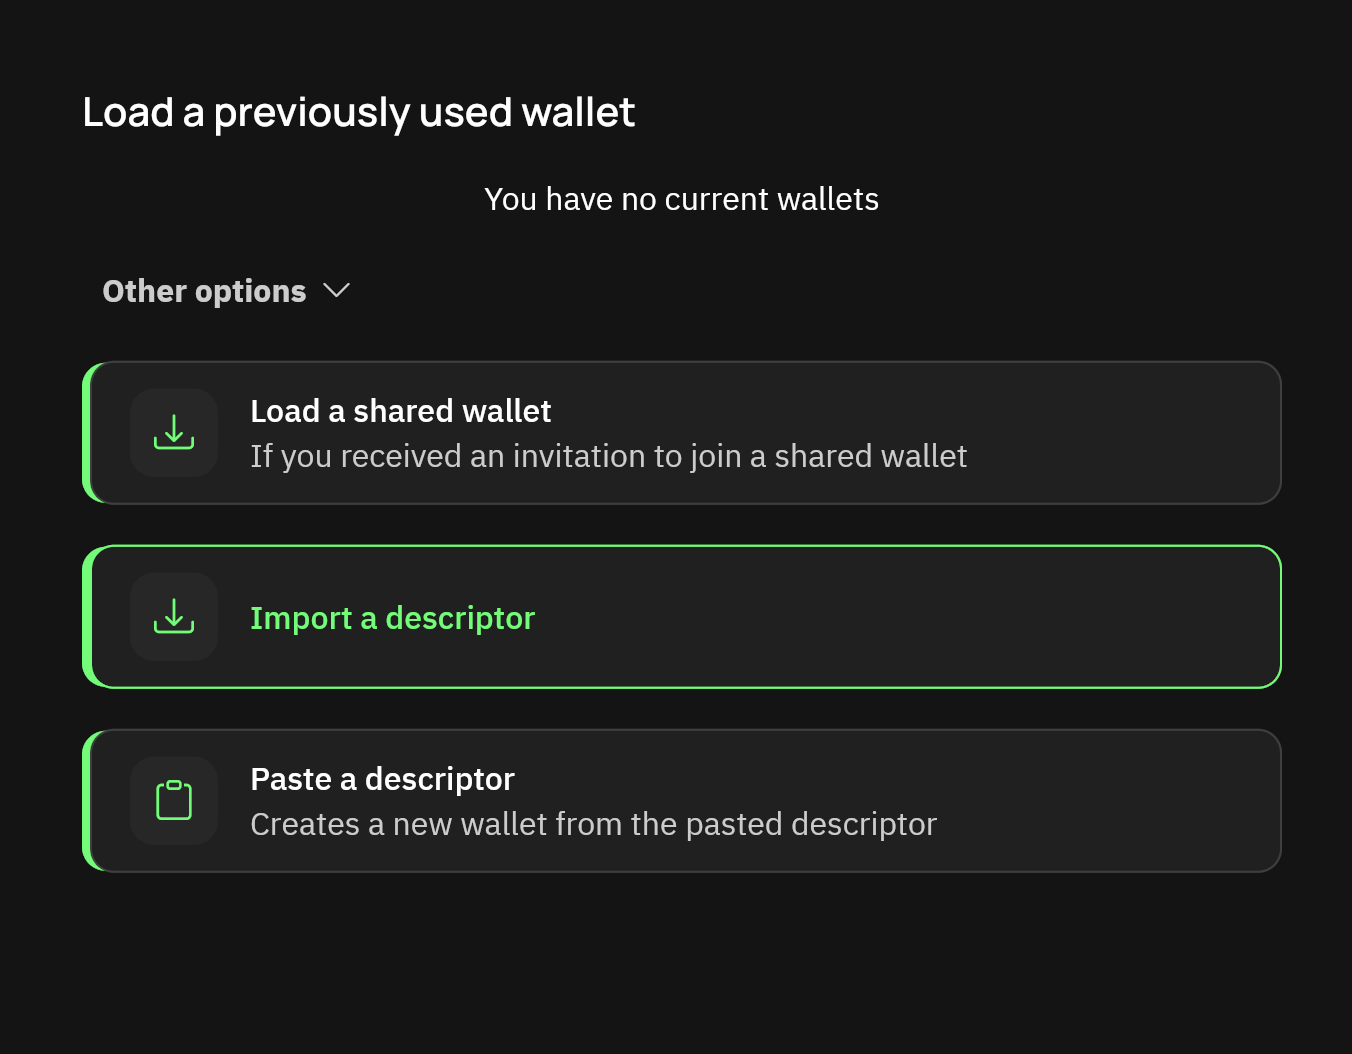
If you are using your own node, you will see a slightly different screen:
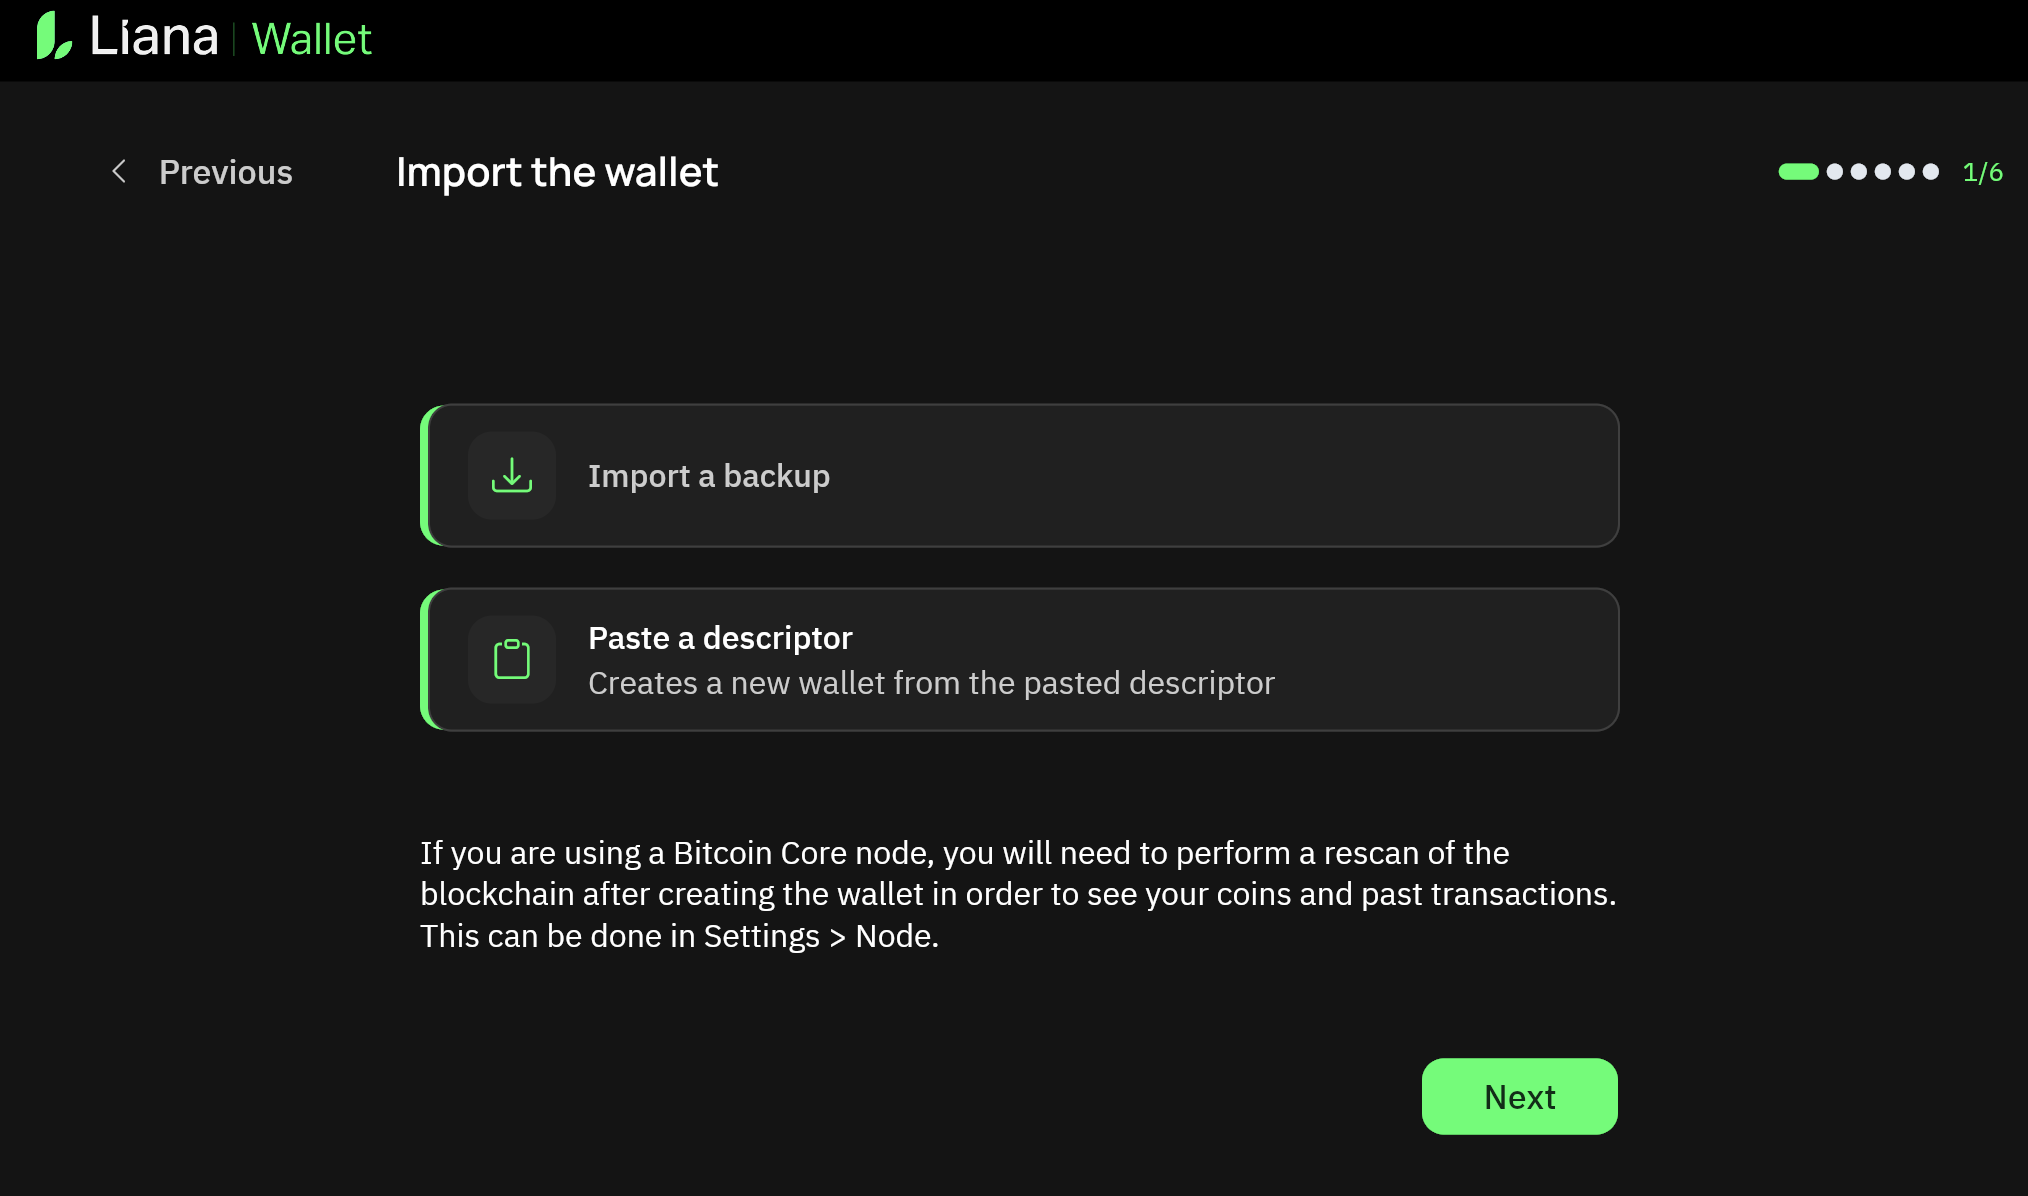
You should see "Import successful" or "Backup successfully imported". Click Next.
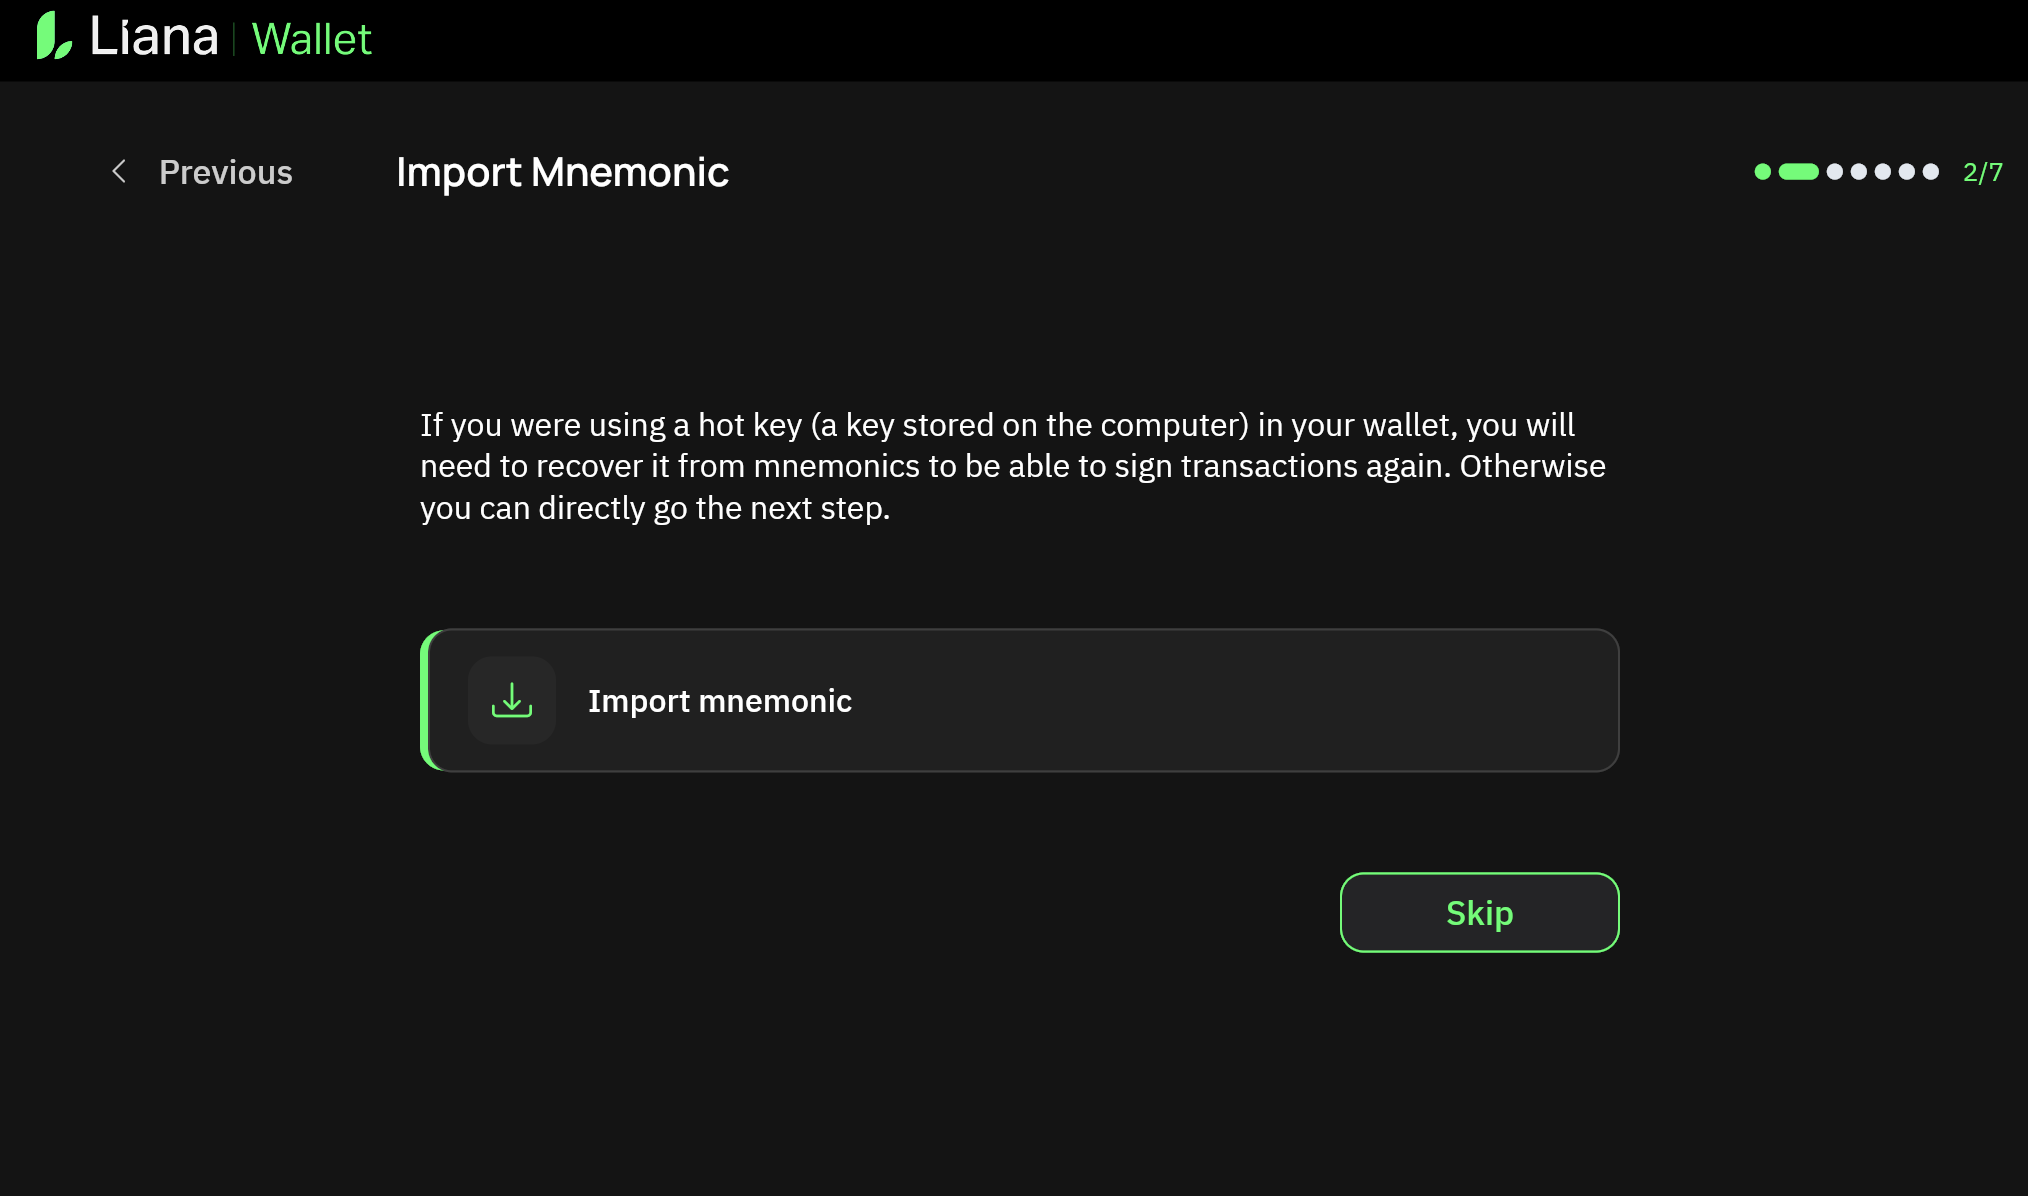
Step Four: You will see an "Import Mnemonic" screen. This can be skipped, since you have your hardware signing device with your private key.
If you have lost your device and only have access to your seed words (mnemonic) and no access to another hardware signing device you could restore them onto first, then you could enter your words here, but only if you are ready to move funds immediately to a new wallet based on a different seed, since inputting your seed words into an internet connected device is a big security risk.
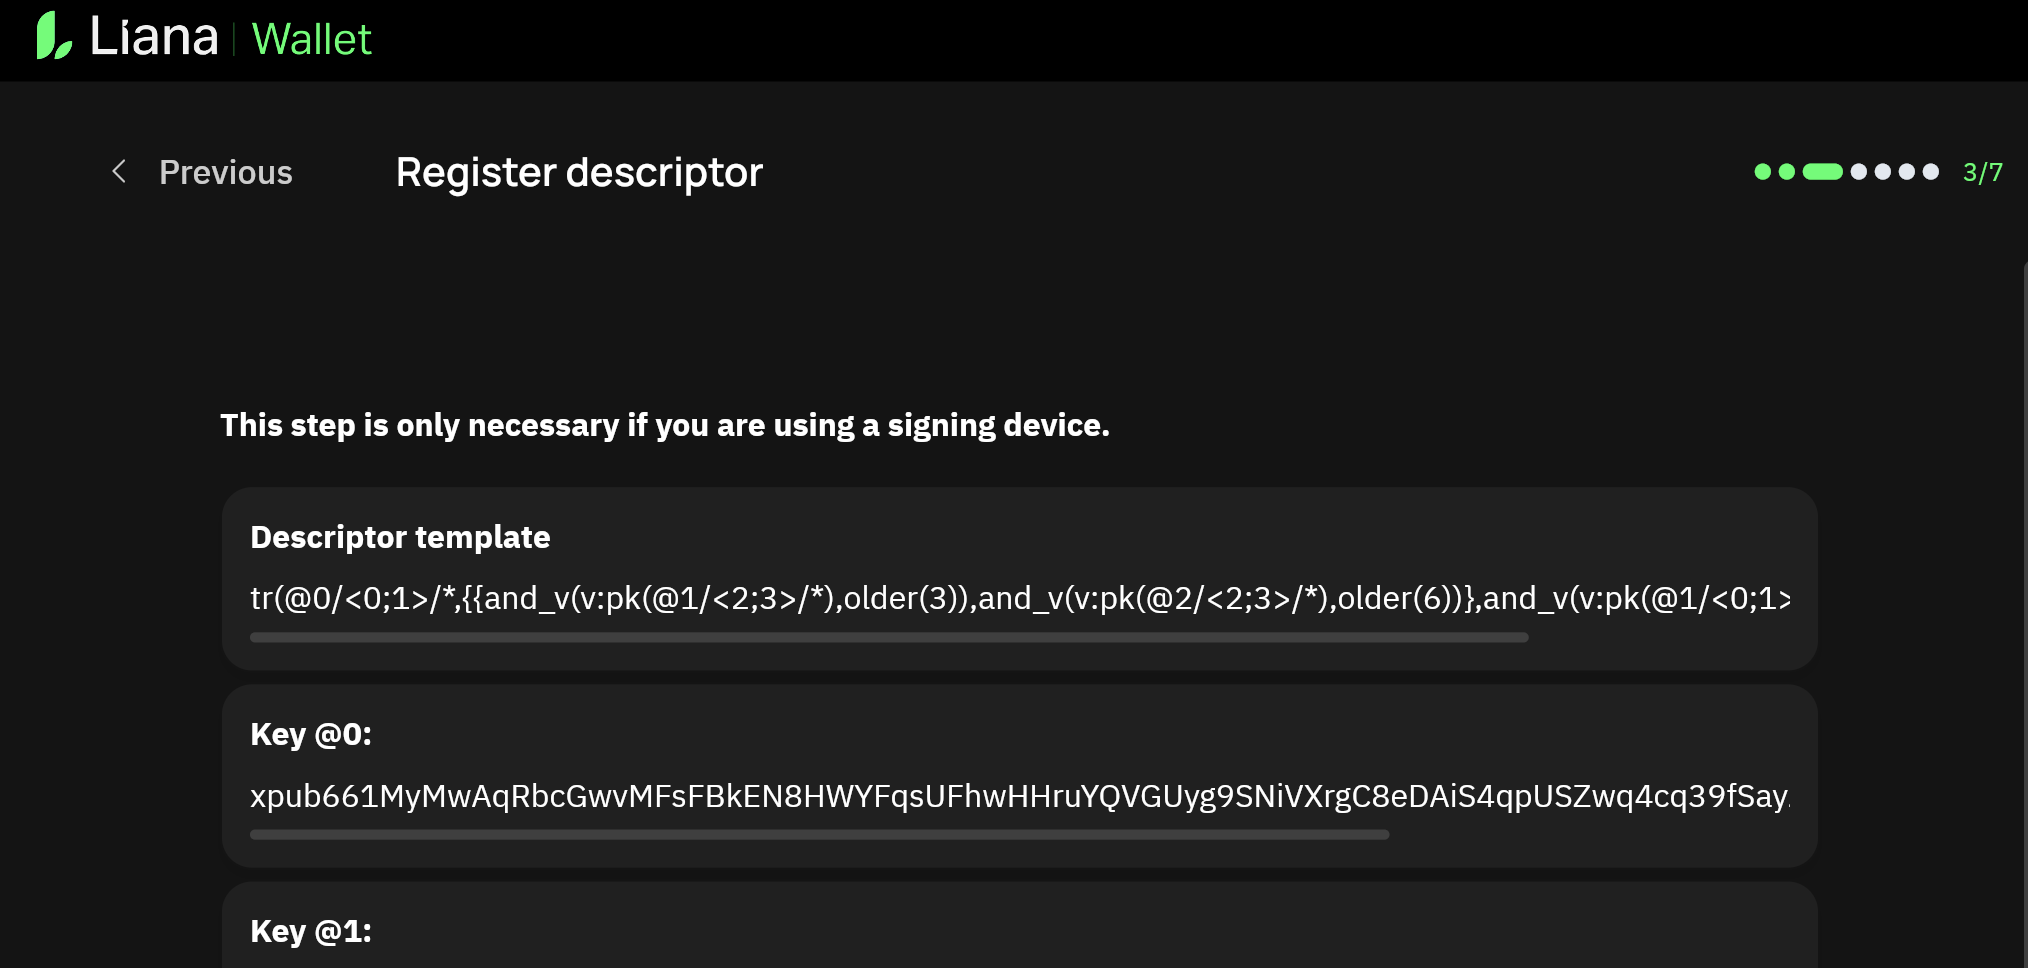
Step Five: You will arrive at the Register descriptor step, which displays the descriptor template and the keys involved in your Vault (a dummy key, your key, our cosigning key and our recovery key).
Because we are now using Liana Wallet instead of Guardblock, we need to re-register the descriptor on your hardware device.
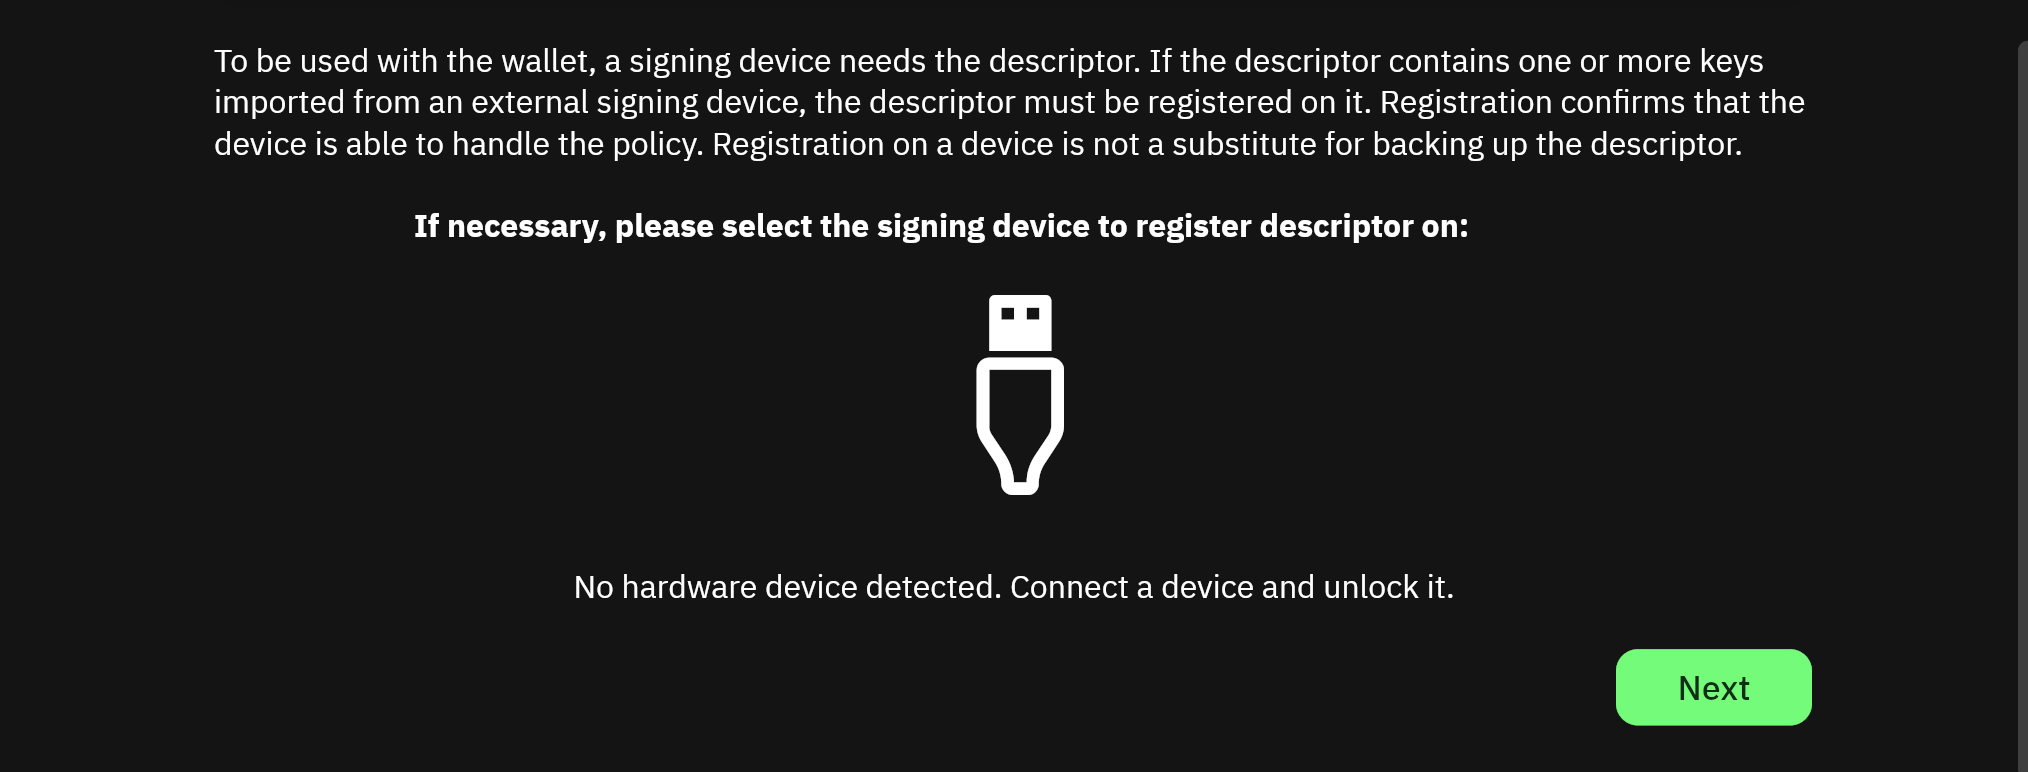
Connect your device and unlock it with your pin, navigate to the correct step of your wallet (for example you may need to load the Bitcoin app if using a Ledger), and then follow the prompts in Liana wallet to register the descriptor on the new device. Your device should then go through the same registration process you went through when you created and verified your Vault with Guardblock. You should still verify that the keys on your Liana Wallet screen match the ones displayed on your device.
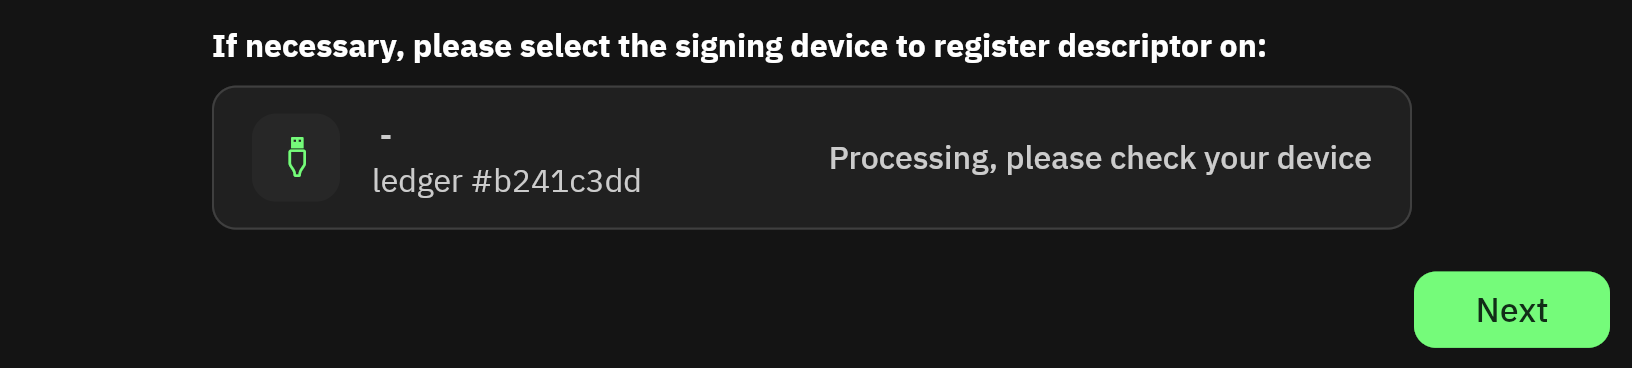
When satisfied, confirm the registration on your device. Then, return to Liana Wallet and click Next (or it may proceed automatically).
At this point, if you chose to use your own node, Liana will now ask for your node details, or give you the option to install a new local bitcoin node. If you chose Liana Connect, you will not see this step.
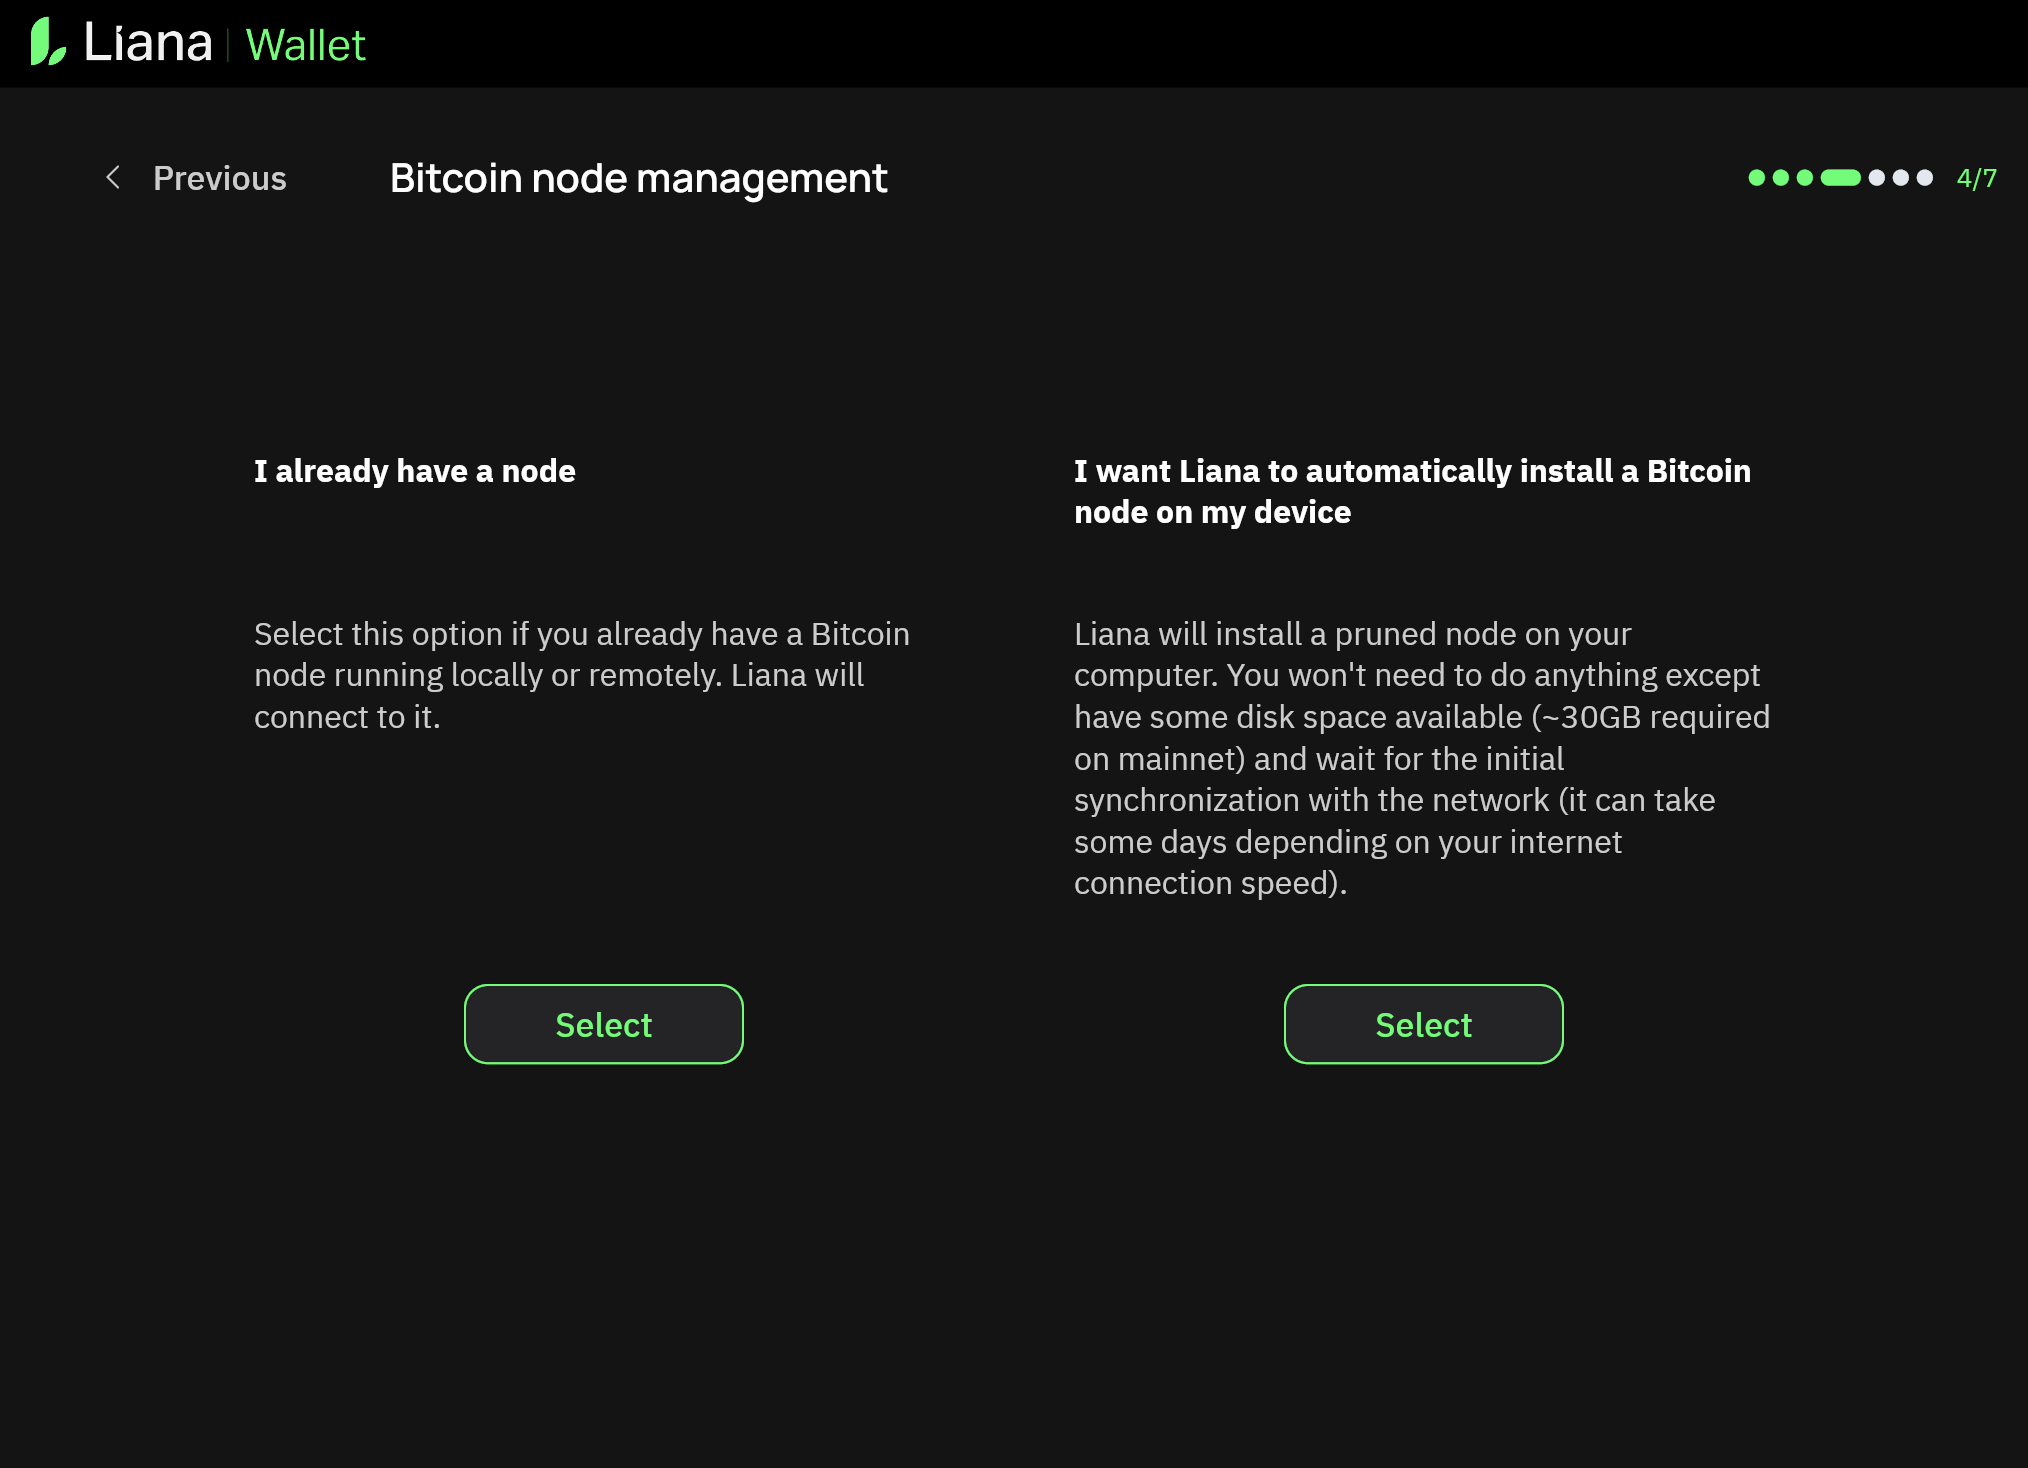
Step Six: Input a name for the wallet, and then continue. You should then arrive at the dashboard for the recovered wallet. After a period of synchronising, your Vault balance should appear if everything was done correctly. Note that if you used your own node, you will need to trigger a rescan via Settings > Node before your balance will appear.
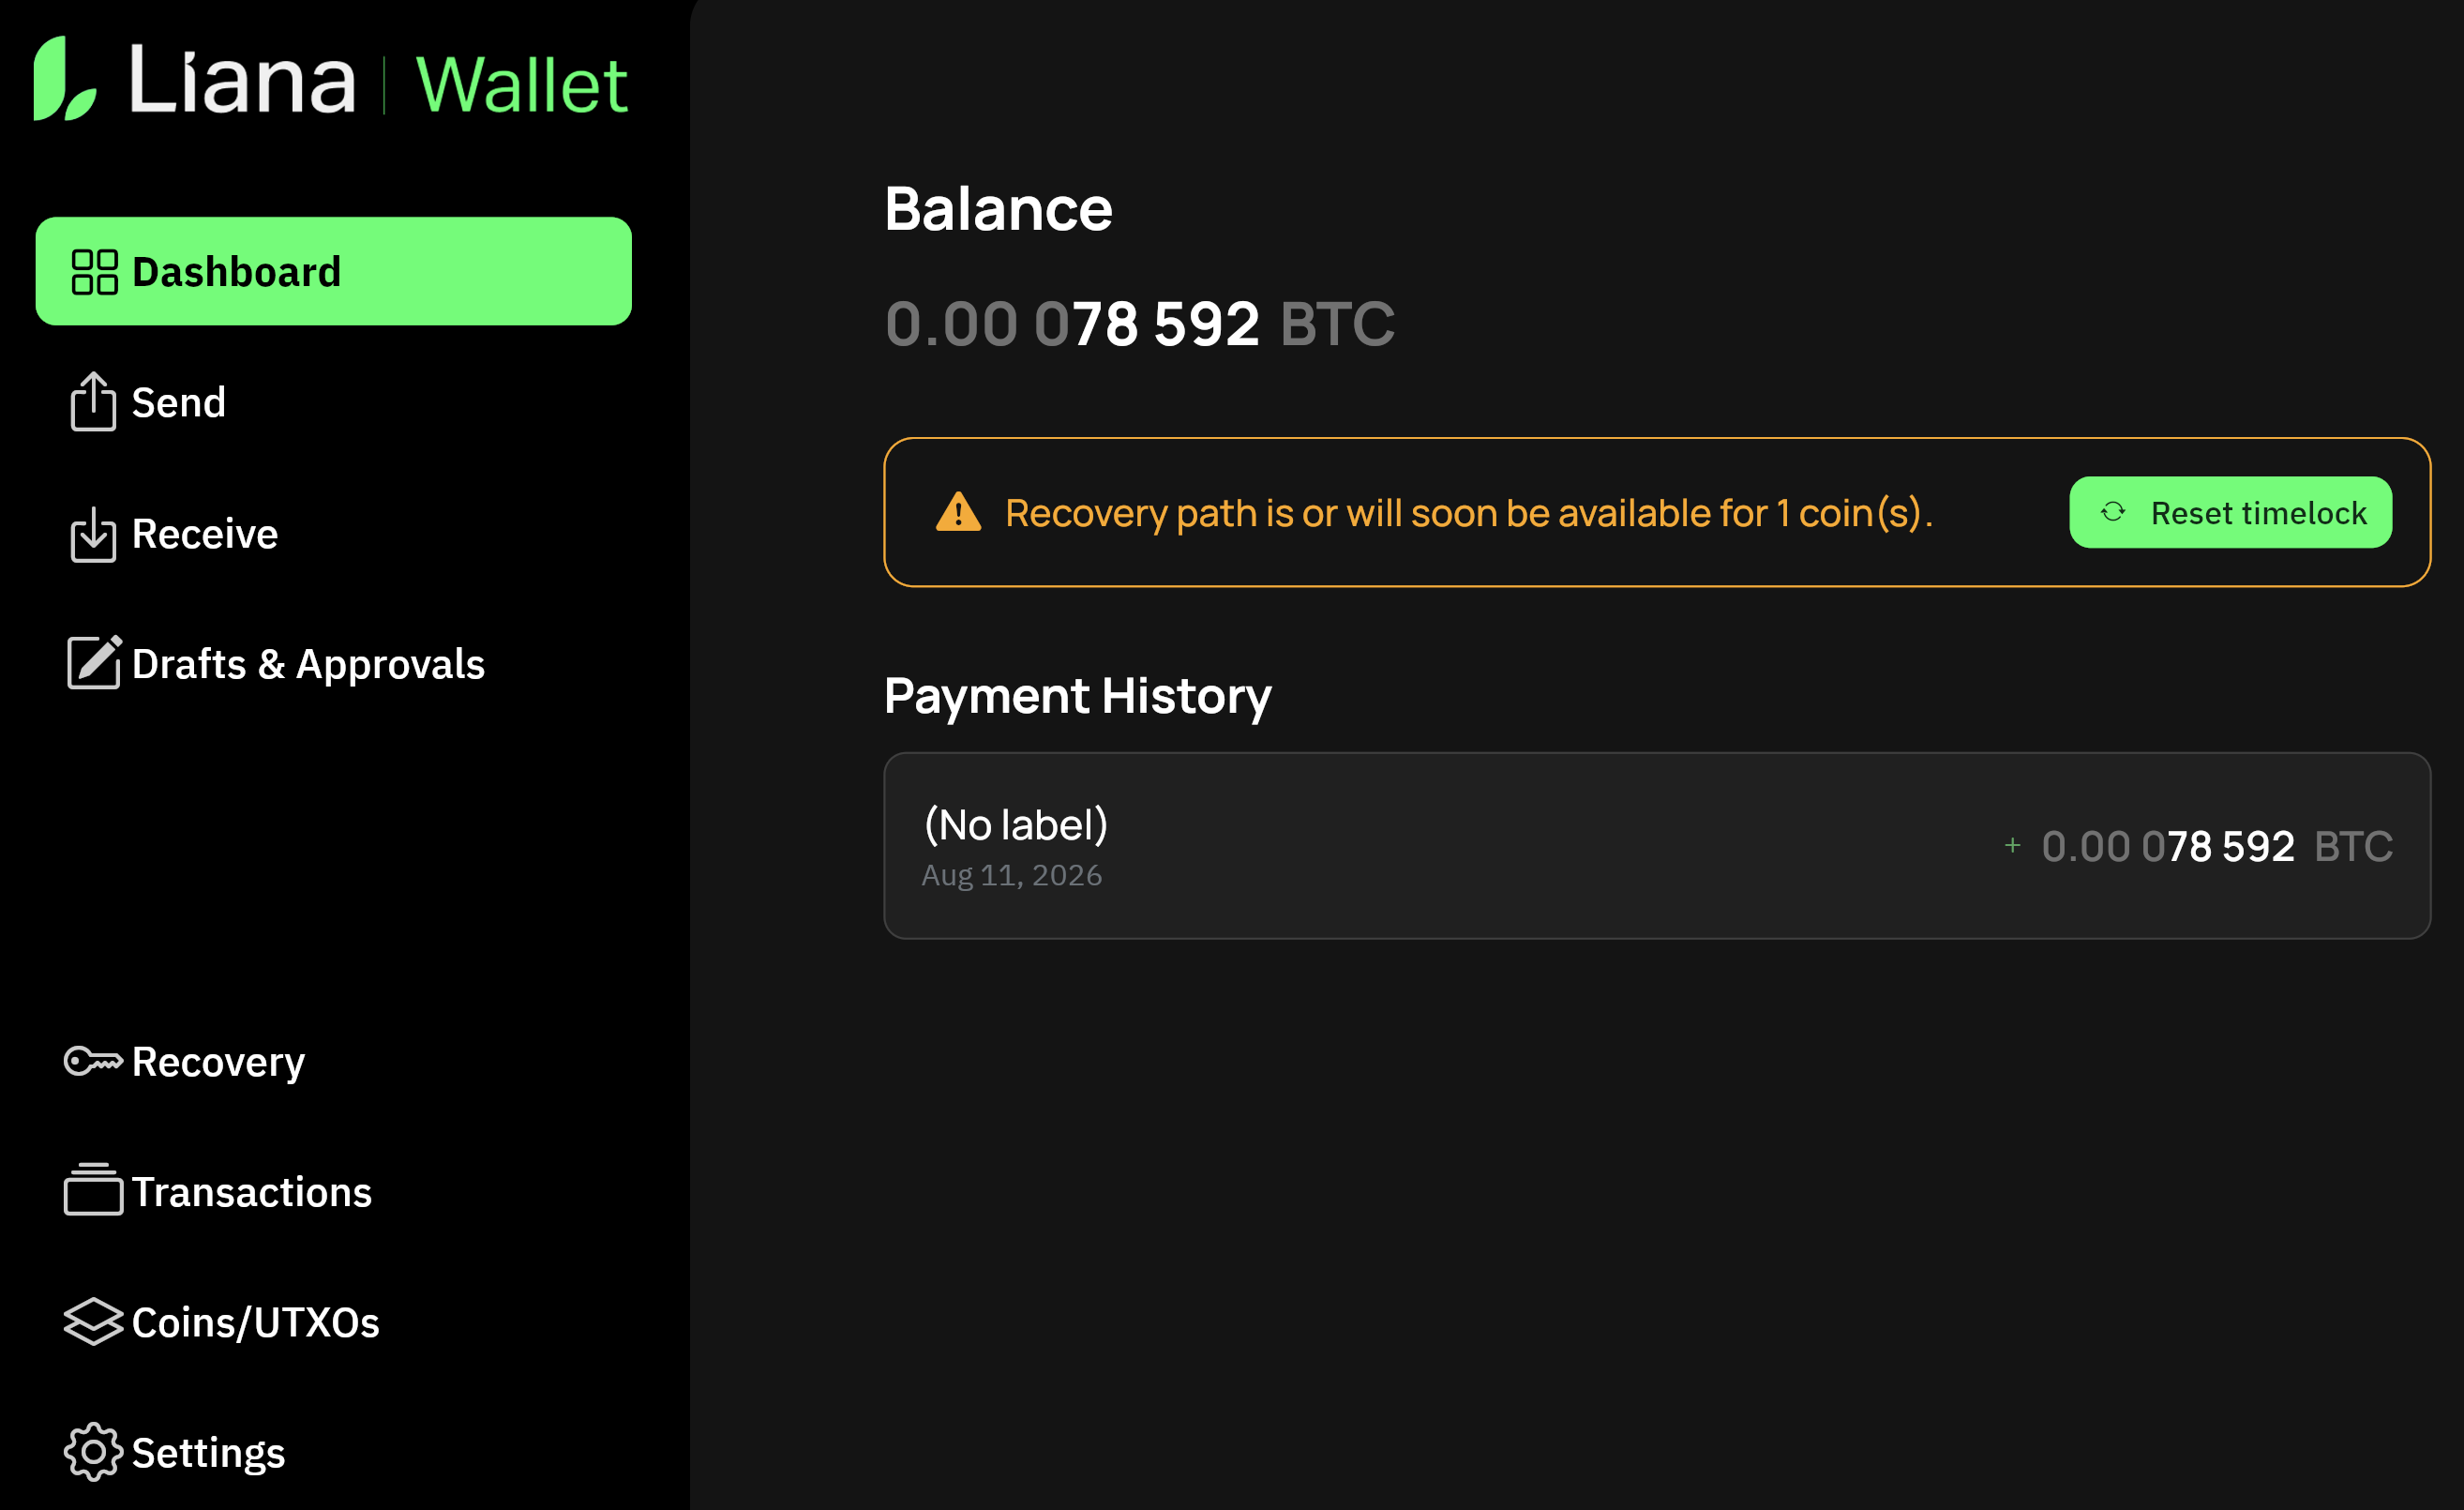
Step Seven: You can now use Liana Wallet to Recover your bitcoin and move it to a new location. It is recommended you move the funds rather than leave them in the restored Liana Wallet, because in the event where Guardblock has ceased operations, you will want to move funds before the final Guardblock recovery timelock expires (usually 15 months).
Note that you can use a wallet with same private key already on your device. The important part is moving the funds out of the Vault setup where the Guardblock Recovery Key is active, and onto a different wallet. Privacy-conscious users would then want to generate a new private key and relocate funds again, since Guardblock is aware of the xpub associated with your previous key.
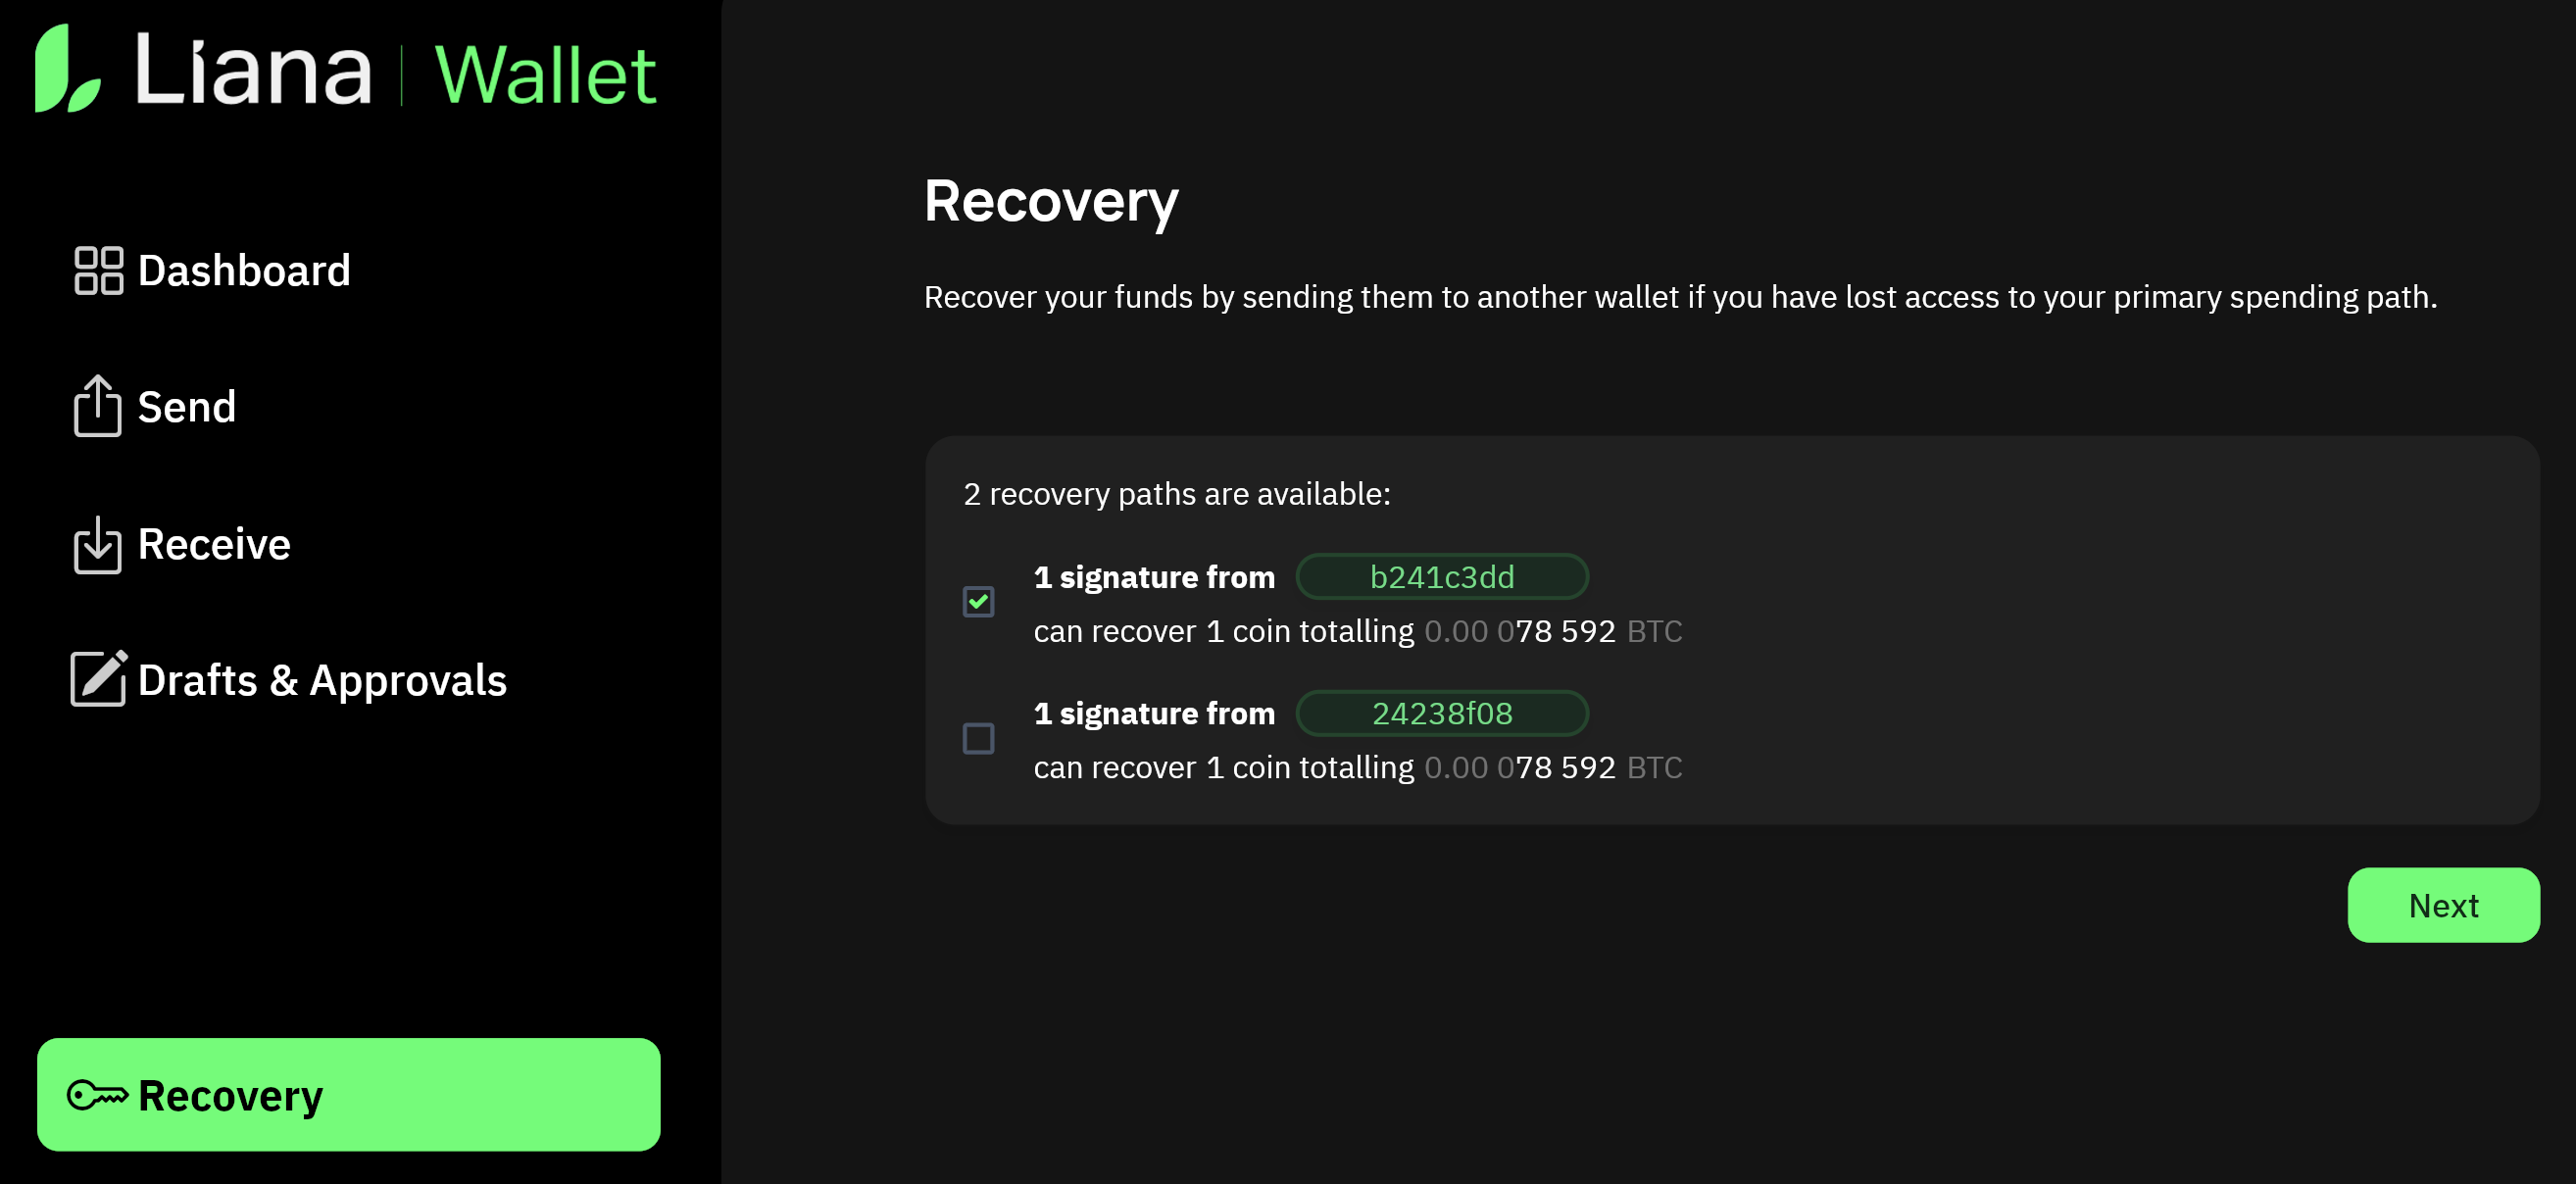
Click on Recovery, and you will see the available recovery paths. One will show the fingerprint (in green) of your device. If another recovery path is shown for a different fingerprint, that means the 2nd timelock has expired and the Guardblock recovery key is also active.
Select the path with the fingerprint that matches your hardware device, then click Next.
If you aren't sure which key fingerprint is yours, you can open your Vault Descriptor.txt, navigate to the first derivation path (eg /48'/0'/0'/2') and you will see your key fingerprint immediately before the first derivation path.
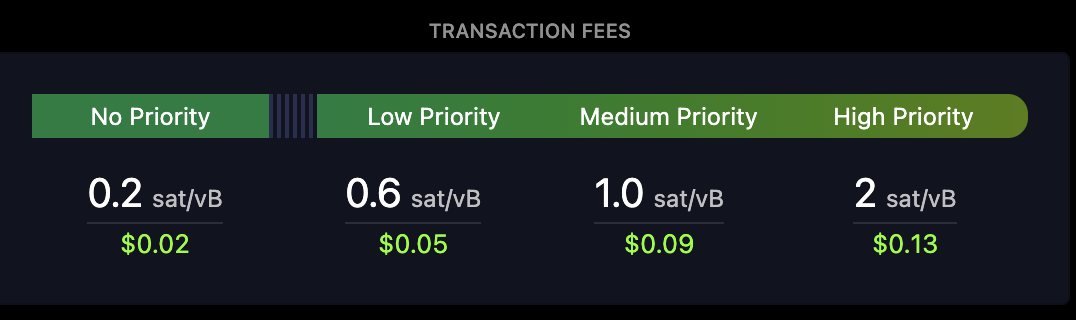
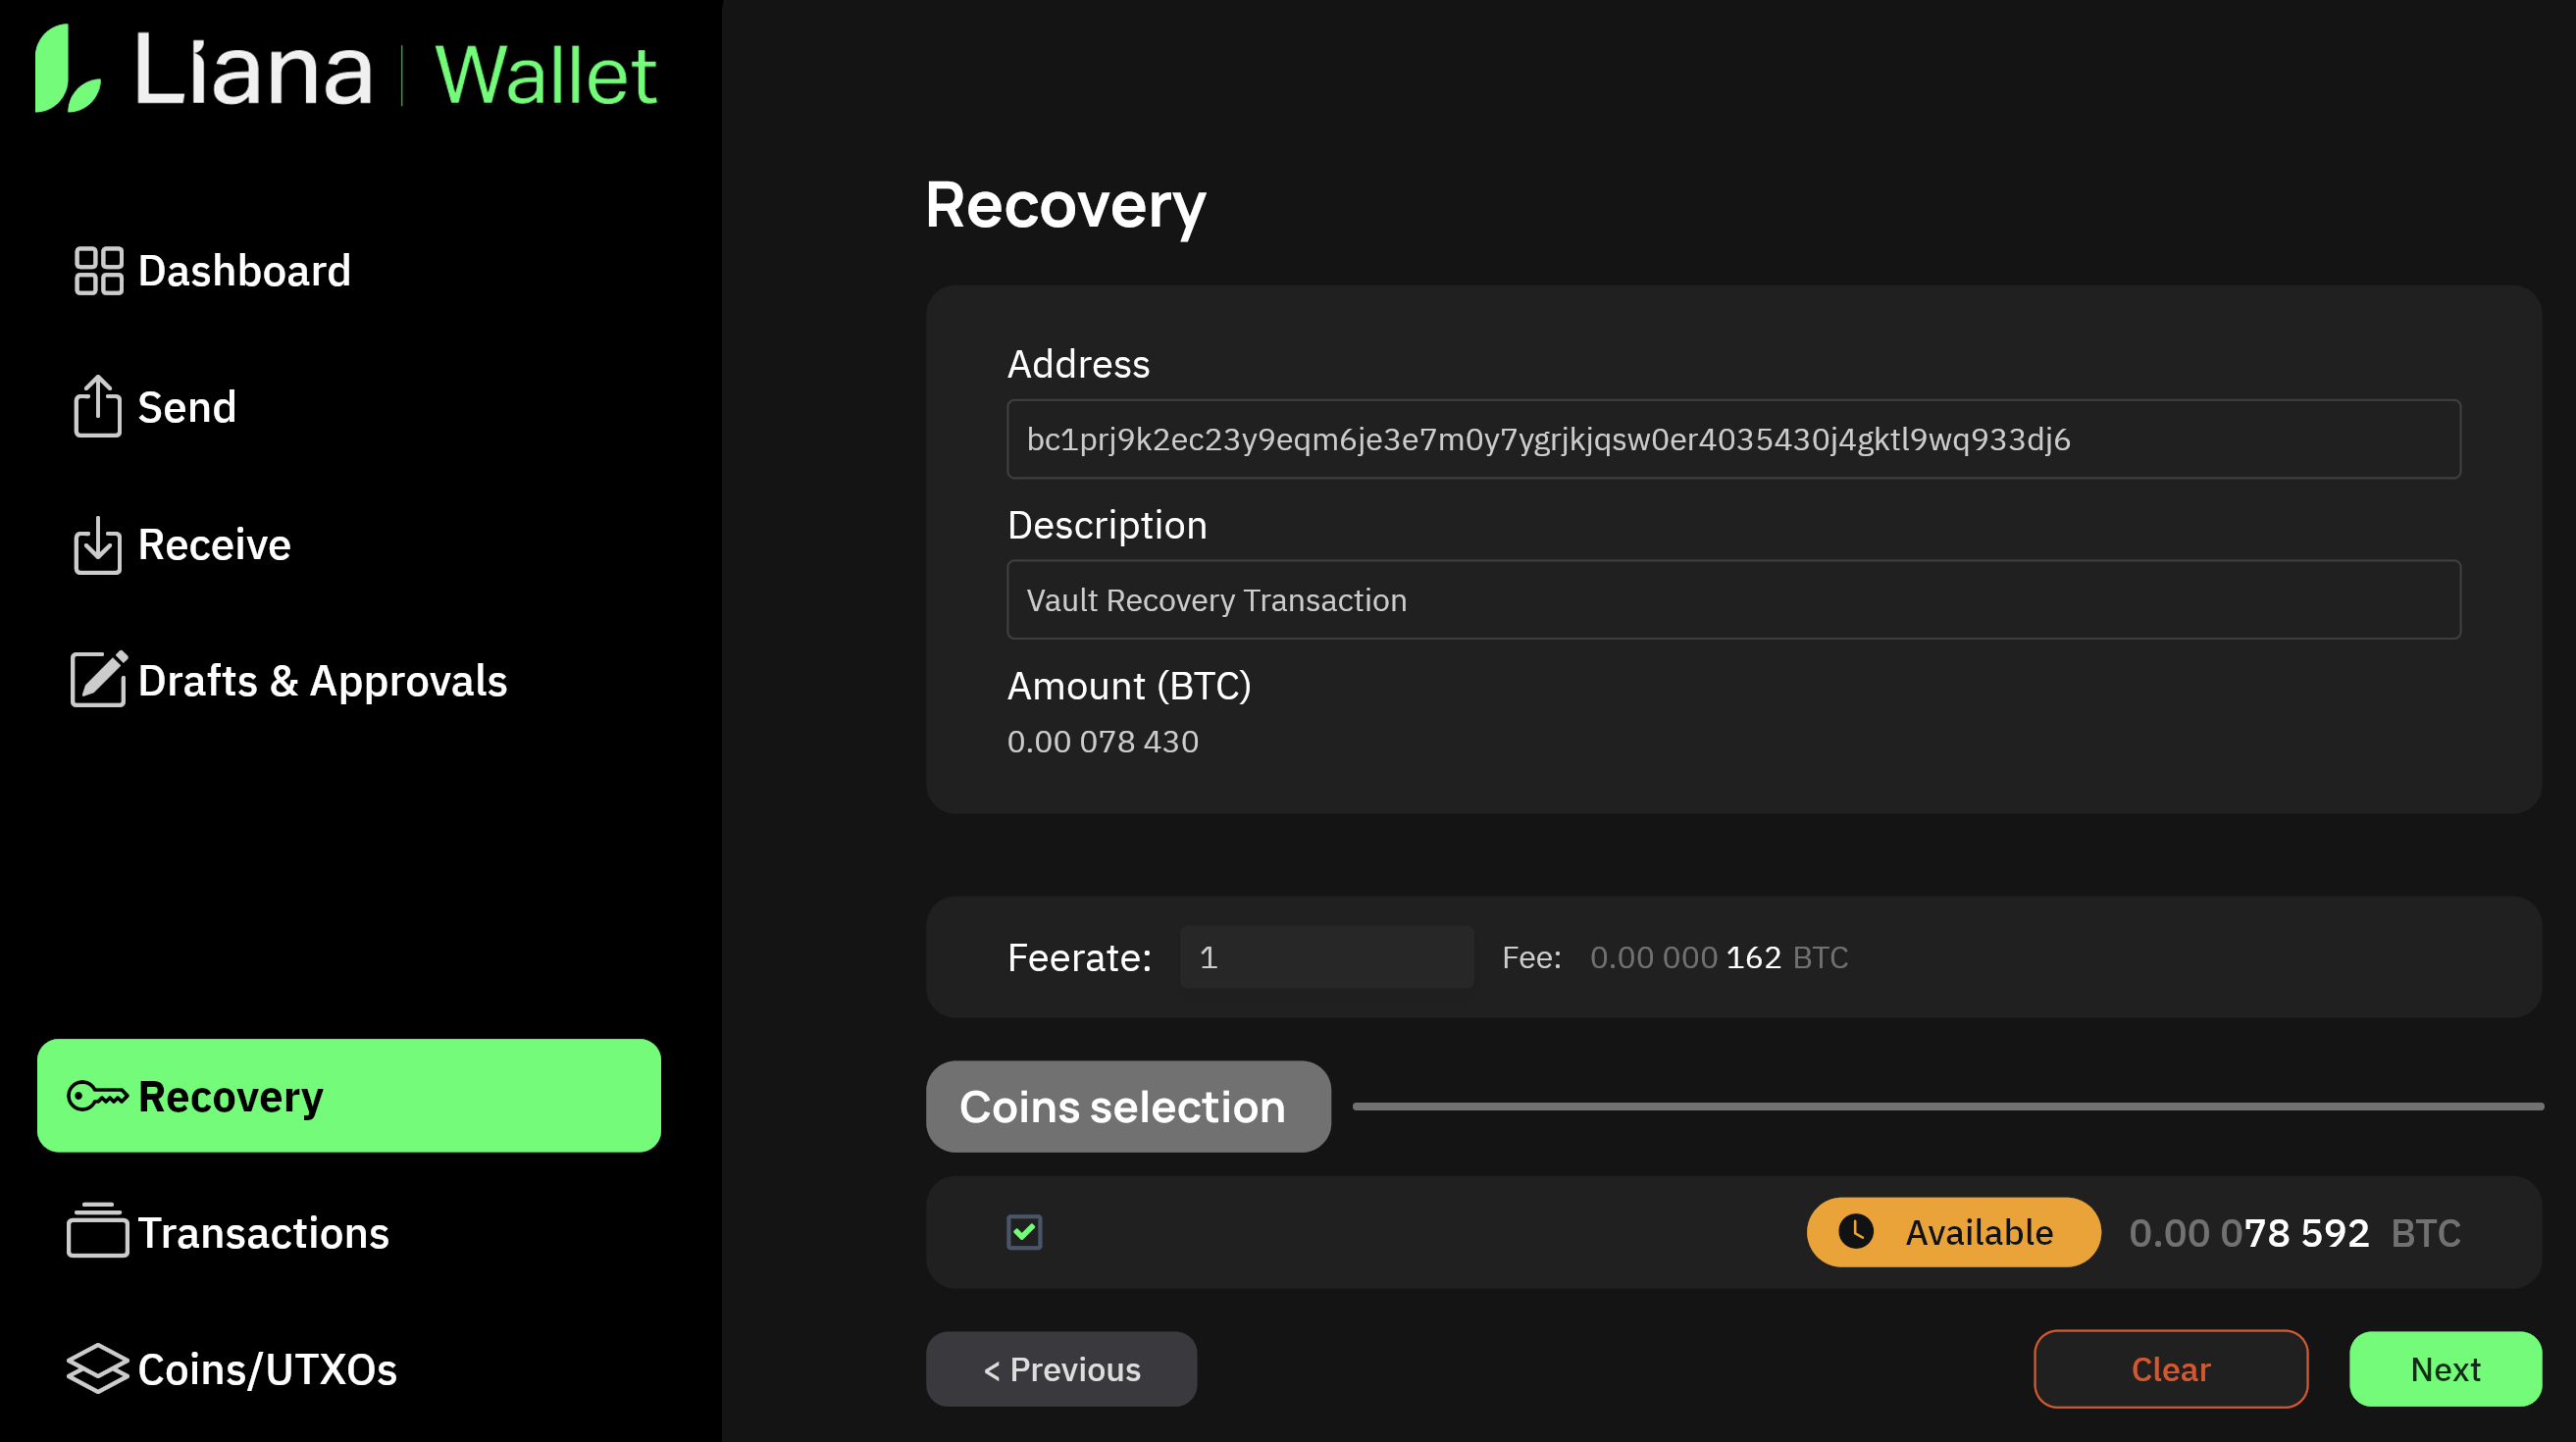
Step Eight: Input the address, label/description and fee rate. You can check mempool.space to see the fee rate for a medium or high priority transaction, and input it into the Feerate field.
Select the UTXO's (coins) to be sent (which will usually be all of them), then click Next.
Step Eight: Liana Wallet will now ask you to sign the transaction using your hardware signing device.
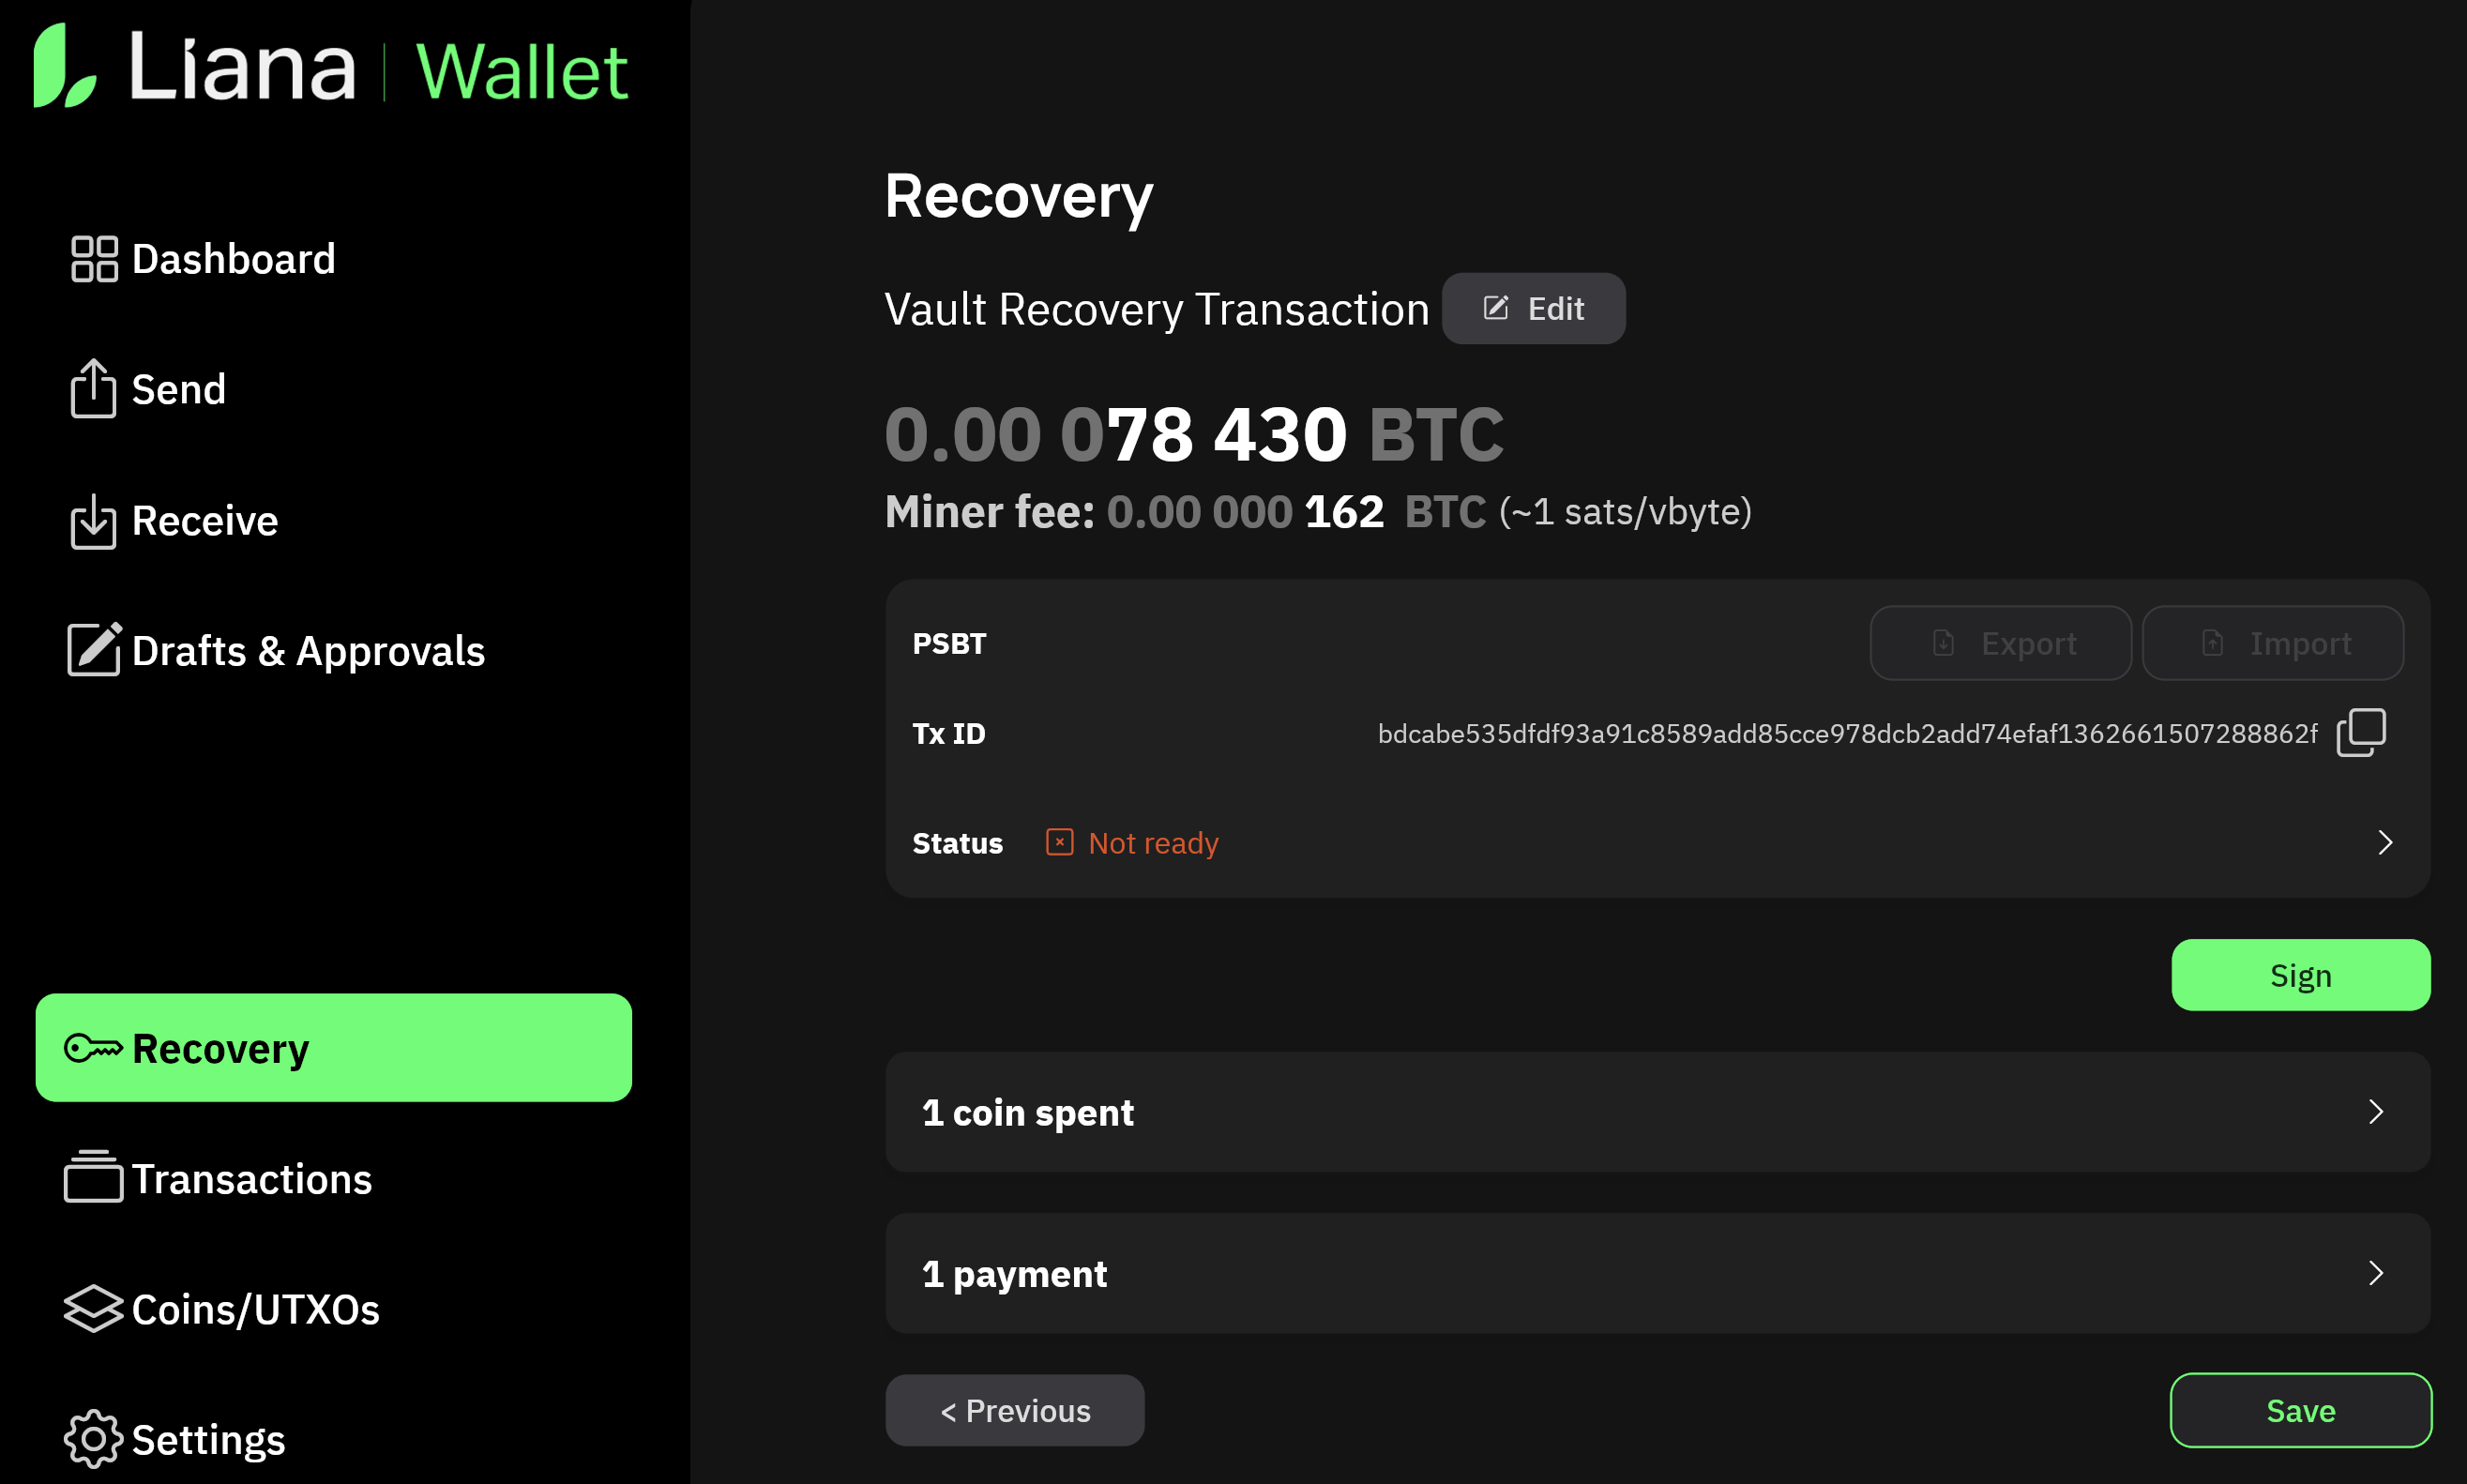
Plug in your hardware device, enter your pin and navigate to the bitcoin app (depending on your device) and click Sign.
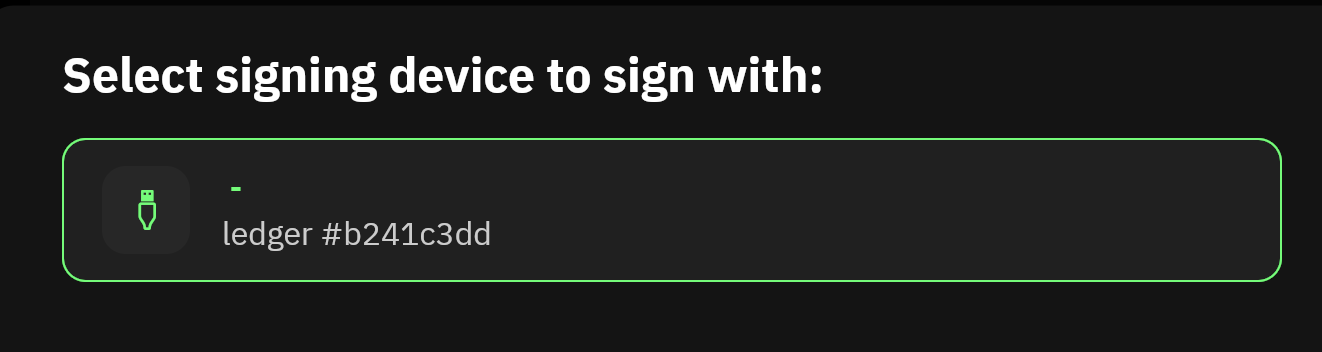
Liana Wallet will then pop up with which device you want to sign with. Click on your device, and then follow the prompts on your device to sign the transaction.
Verify the address is correct on your device screen before approving/signing the transaction using your device.
You should then see Ready in Liana Wallet and the Broadcast button will be available.
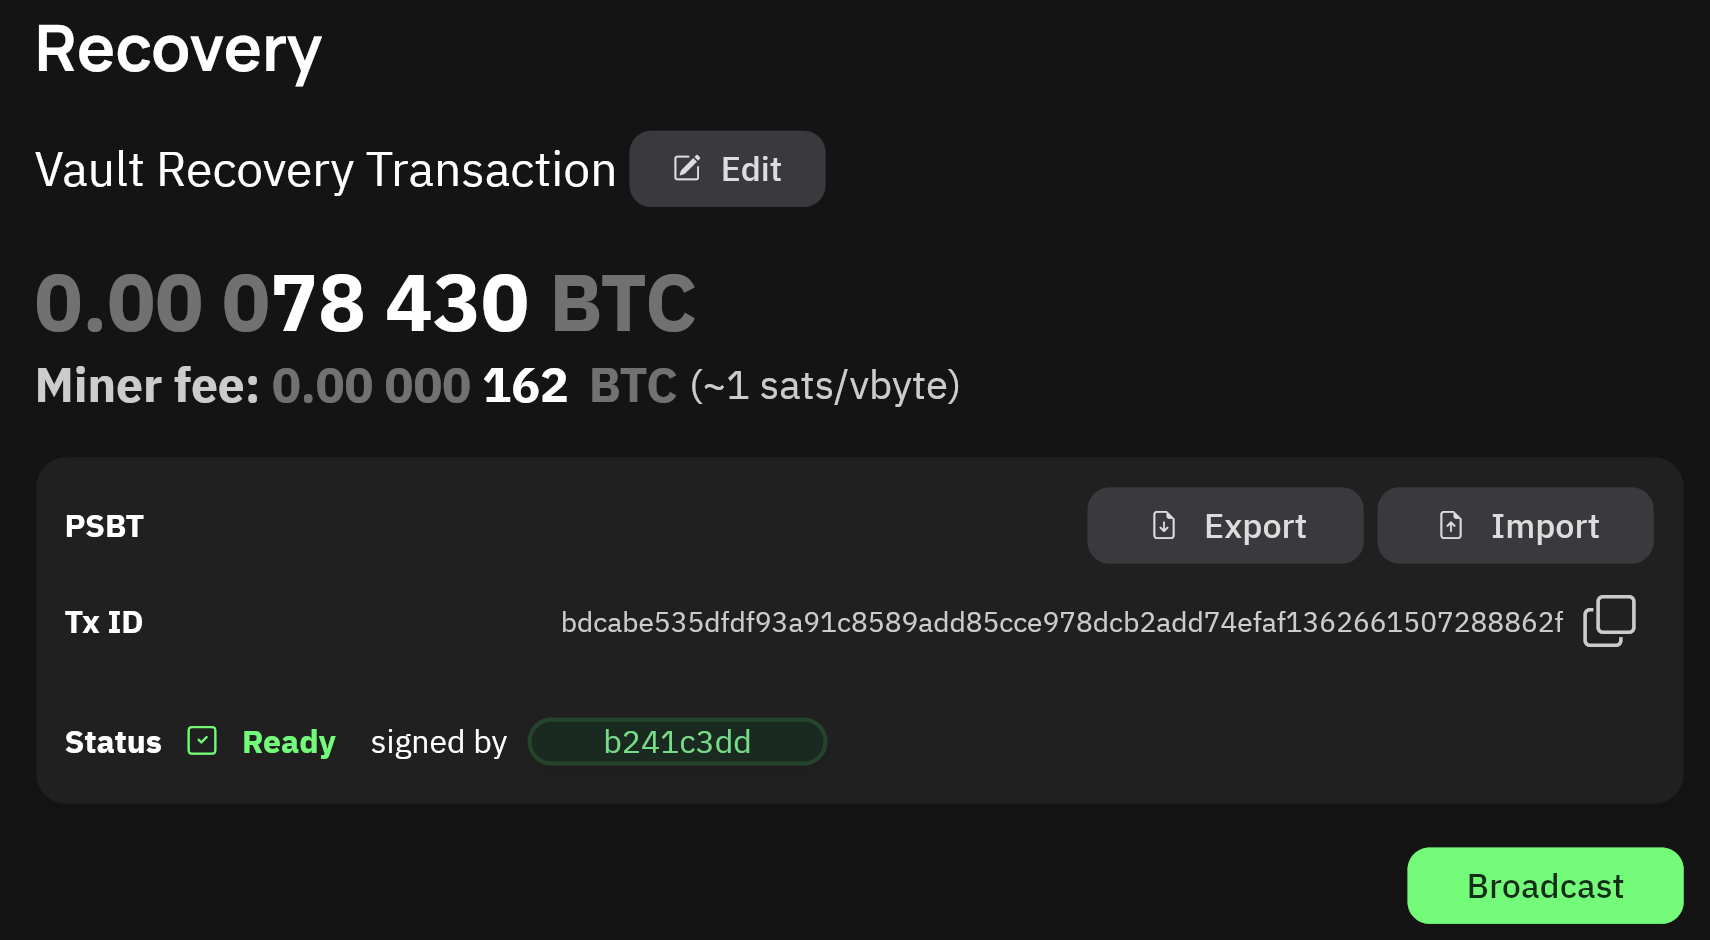
Step Nine: Click Broadcast and confirm, you will then see "Transaction is broadcast"
You can copy the Tx ID (Transaction ID) and paste it into mempool.space to confirm.
Extremely privacy-conscious users should note that mempool.space is a public tracking service and your usage of it may be monitored. You can self-host an instance of it yourself to remove this risk, or use your node to view the transaction there (if indexing is enabled).
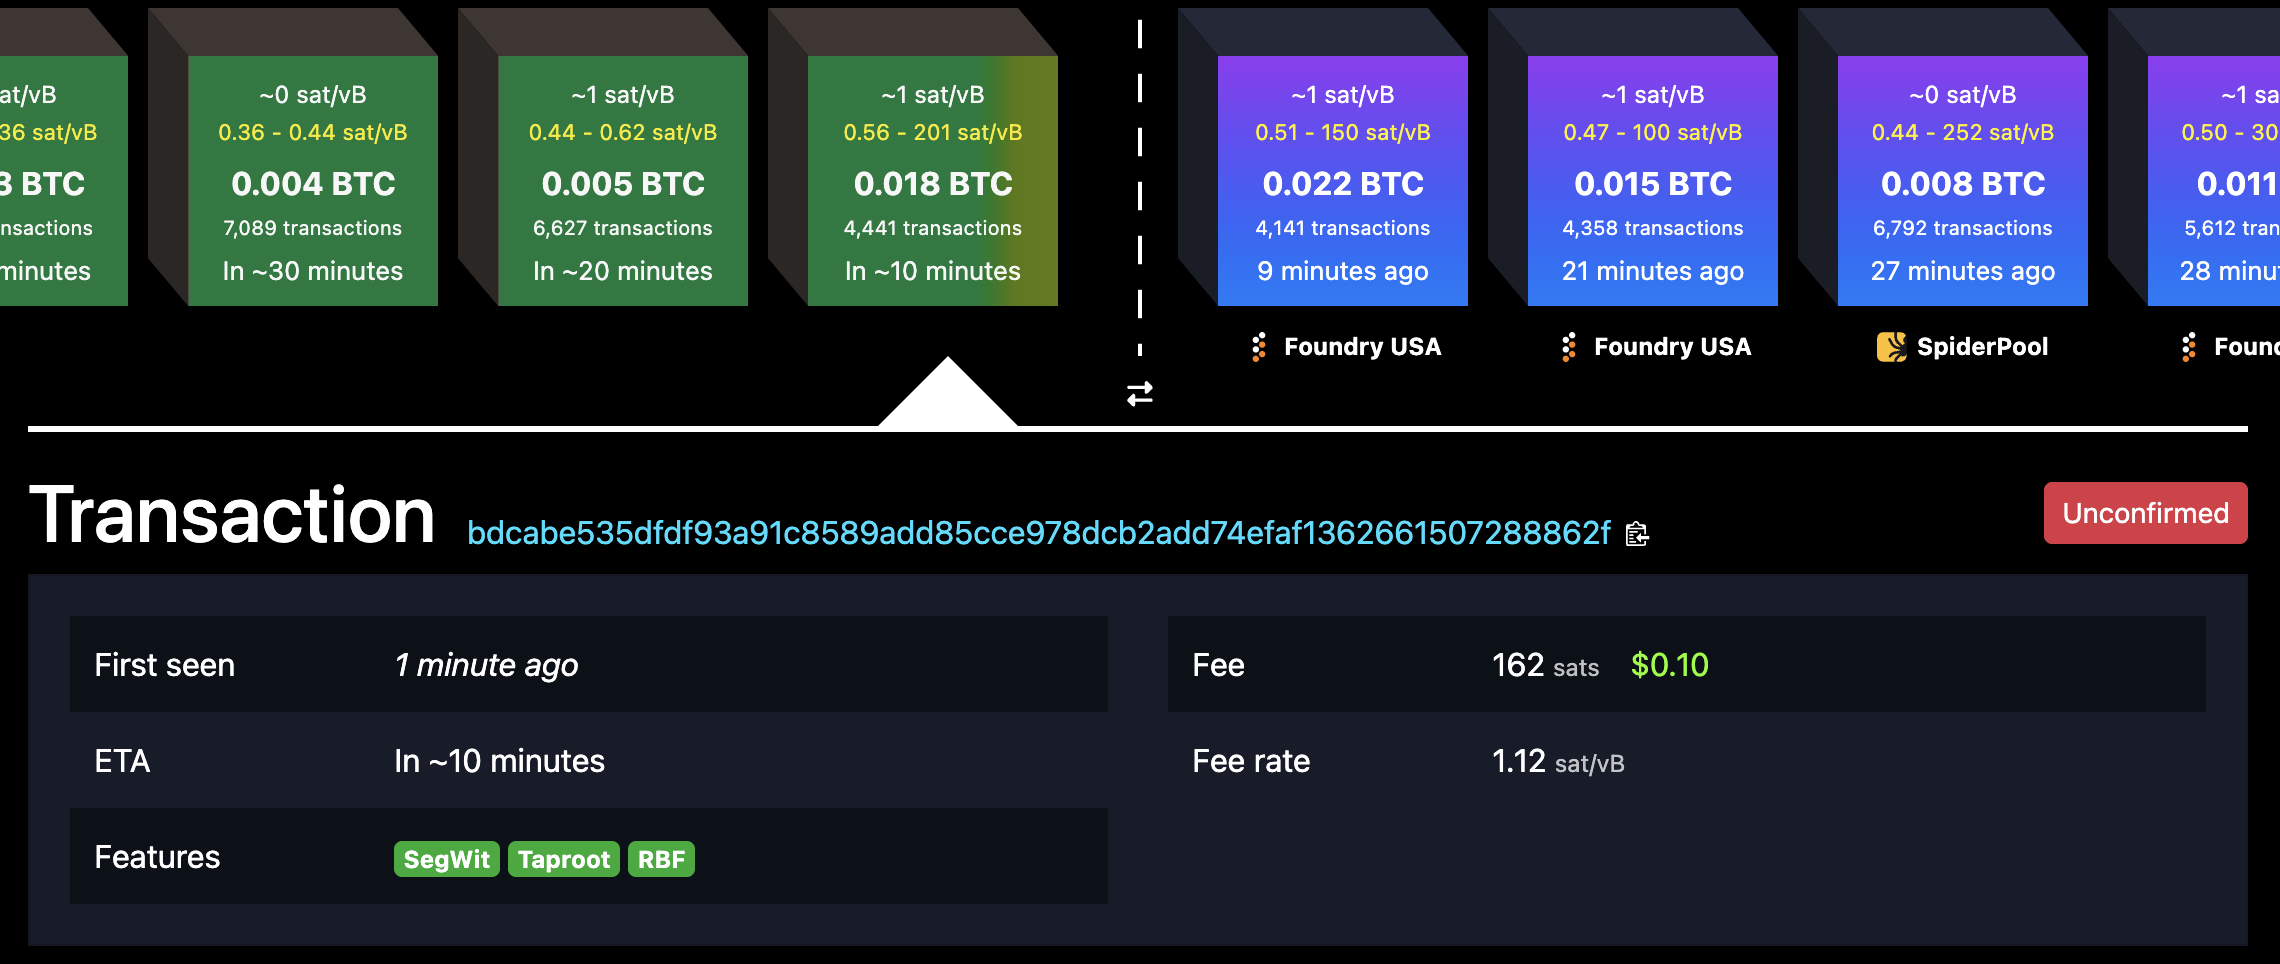
Depending on the fee rate you set for the transaction, and the number of confirmations your receiving wallet requires, given time your bitcoin will arrive at the new address.
Step Ten: Once funds have arrived at your new address, double-check that all funds/coins have been moved from the recovered Vault. The transferred balance at the new location should have only decreased by the transaction fee.
Repeat the process for any other Vaults that you need to recover.
Once funds are moved, consider your security setup for your new wallet. Ensure your backups are recorded accurately and stored safely. If you used the same private key as the one used for the initial Vault setup, you may want to move the funds again onto a new wallet derived from a different private key/seed, since Guardblock was aware of your xpub which is a privacy risk.
If you have any questions about the above process, please reach out to us at https://guardblock.com/support